MY ROLE
PROJECT YEARBK
As the 3D Modeler on the team, my role involved conceptualizing 3D mockups, prototypes and designs for our digital yearbook. Simultaneously, I created the QR codes, initial storage system process and spreading awareness of our groups events and projects by creating flyers around campus.
Flyer Design
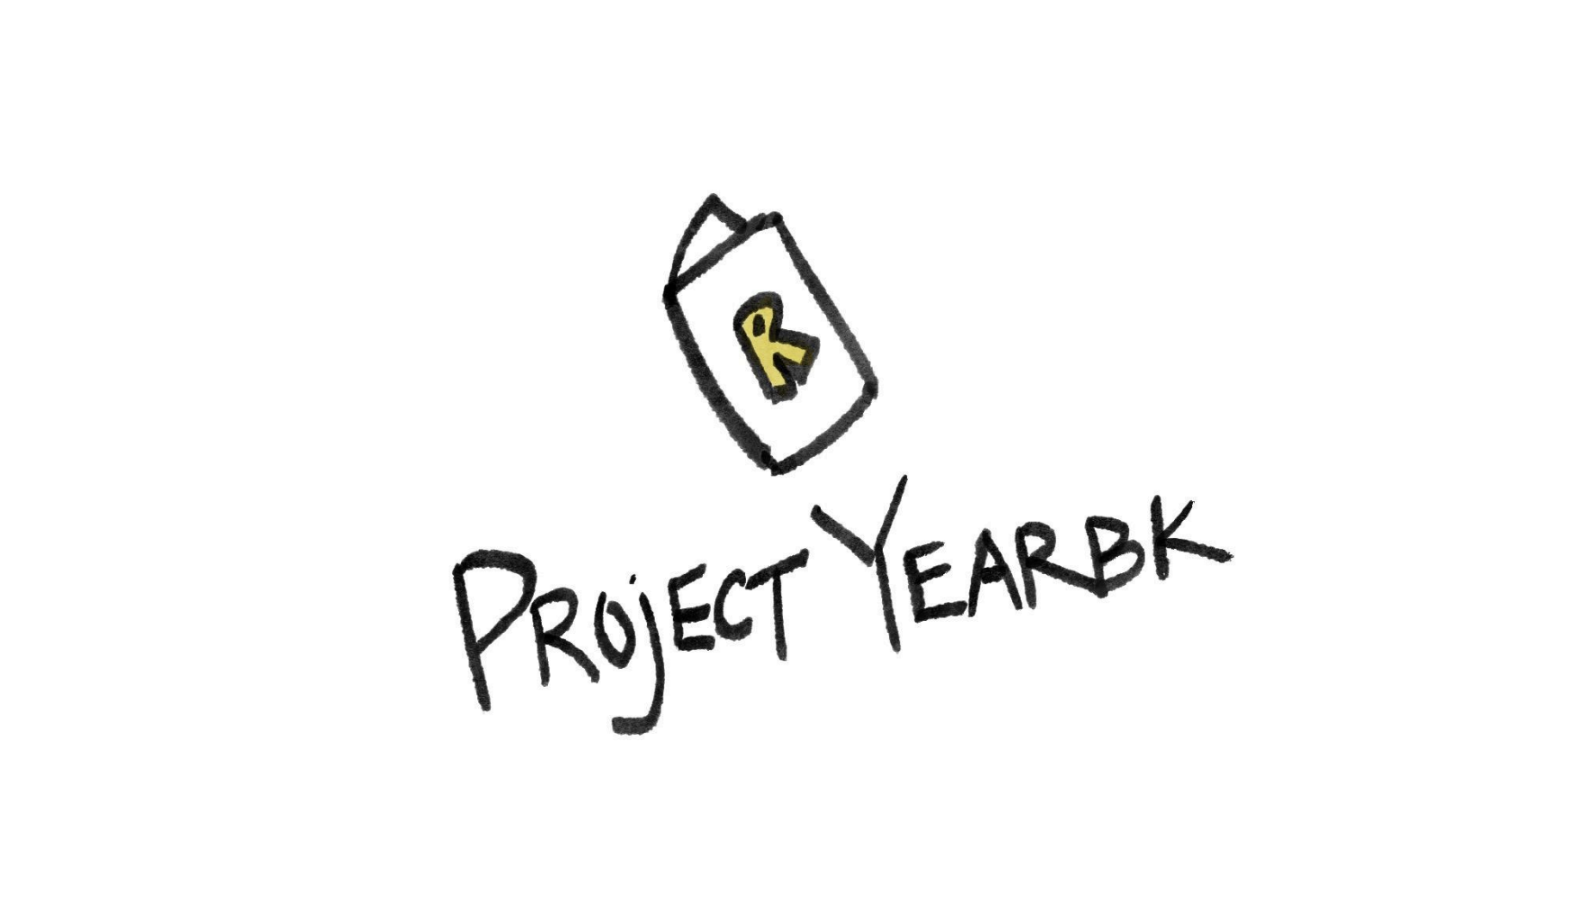
Collaborating with Joy our Social Media Manager, we designed the posters that we used to set up a photo submission and gain a following around campus. I created the QR code and general layout while Joy put together the fonts and created our iconic logo and title font which we used for the rest rest of the project going forward.
I was tasked with placing these posters anywhere and everywhere on campus. I placed them up on student boards in our underground tunnels, outside of classrooms, in dining halls and dormitories. I also submitted them through our digital signage office for each building. This ensured that they would appear on campus computers and digital signage in every building on campus.
DESIGN ITERATIONS AND CONCEPTS
ITERATION I.
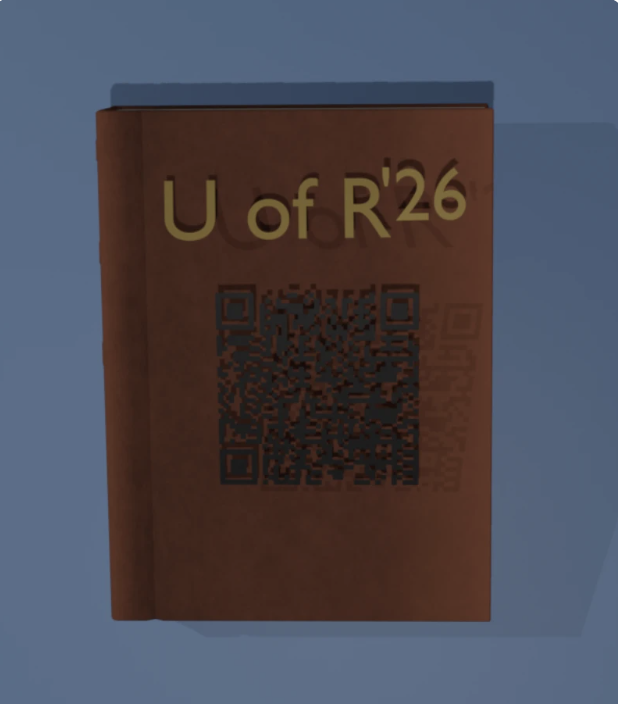
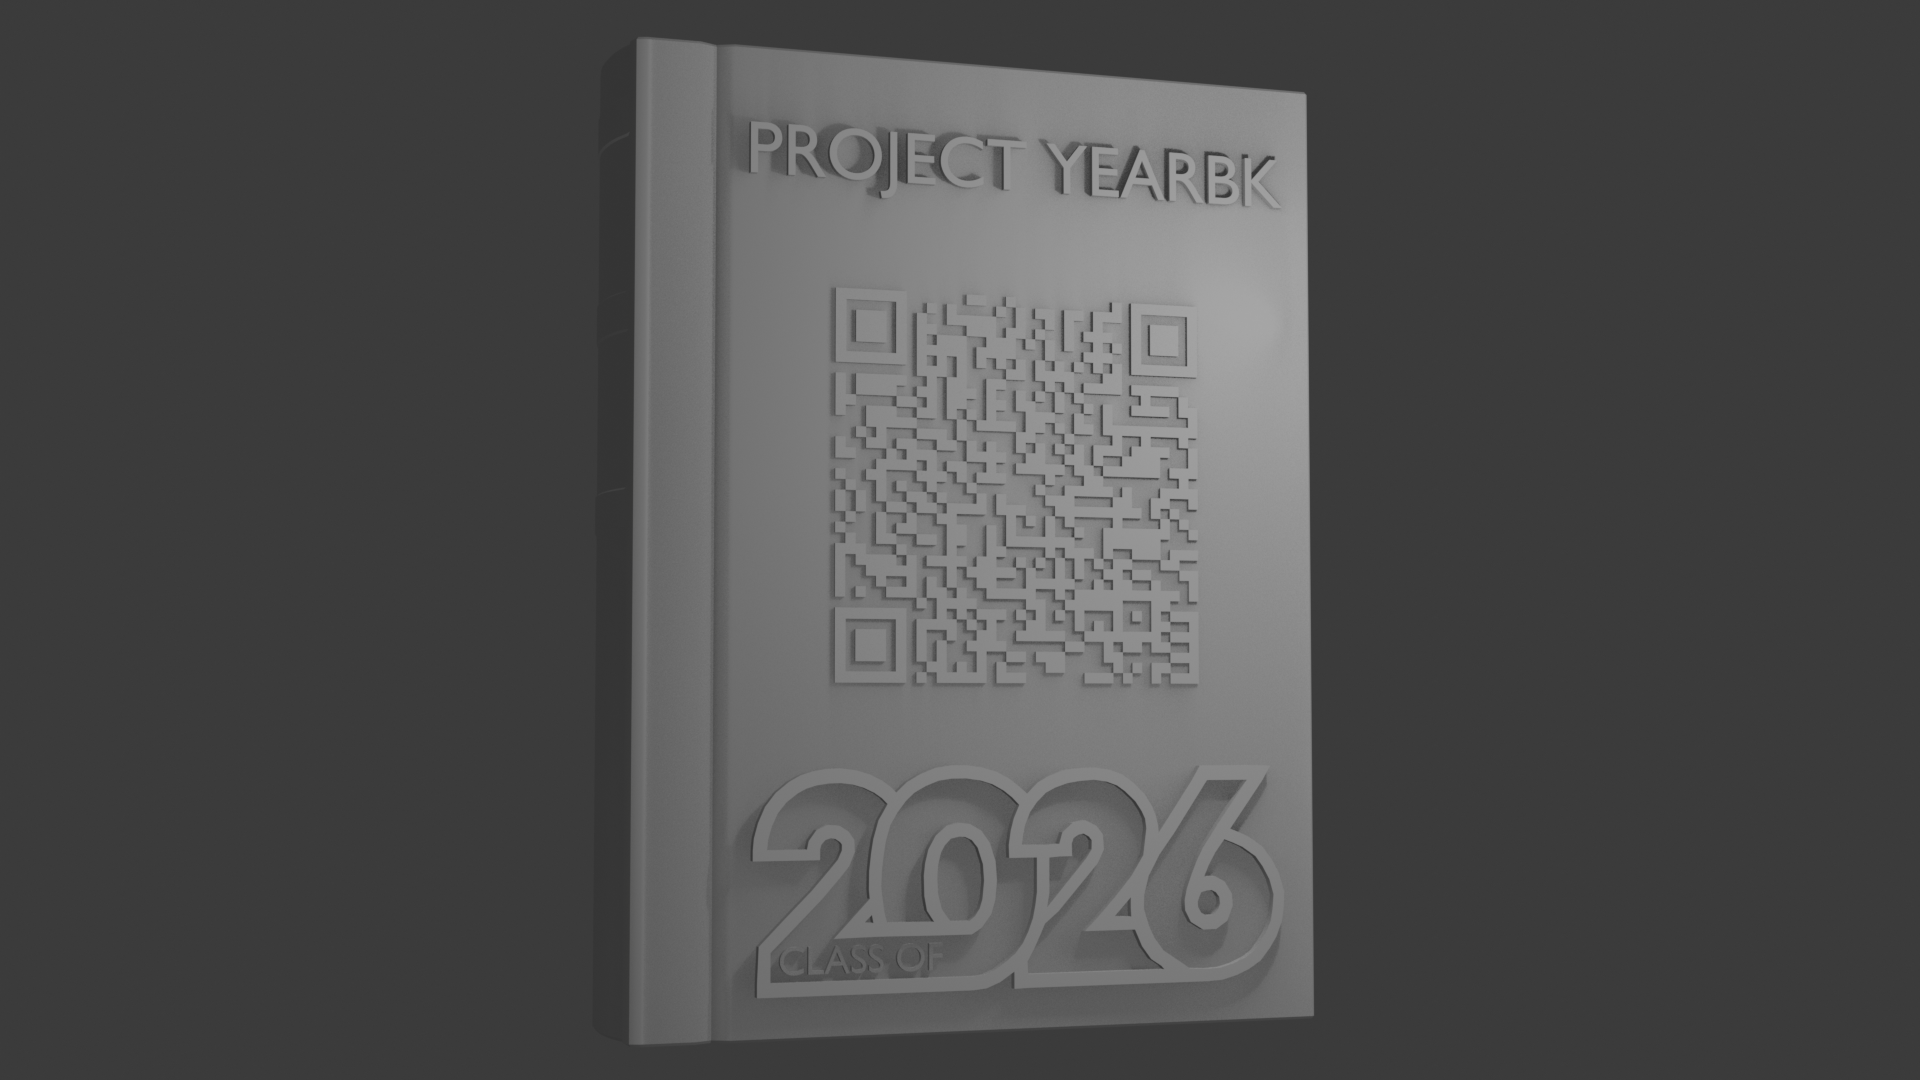
Initial Blender designs of the QR code layout began with the idea of creating posters with a 3D model. I started with a basic model of a book and incorporated text to get a sense and feel as to how it might come together. How did we want to represent the Class year? What is an ideal size for the QR code and the model overall on the poster.
As I continued to play around with the model layout, I realized we could do something a bit different. Something tangible over flyers and pieces of paper.
ITERATION II.
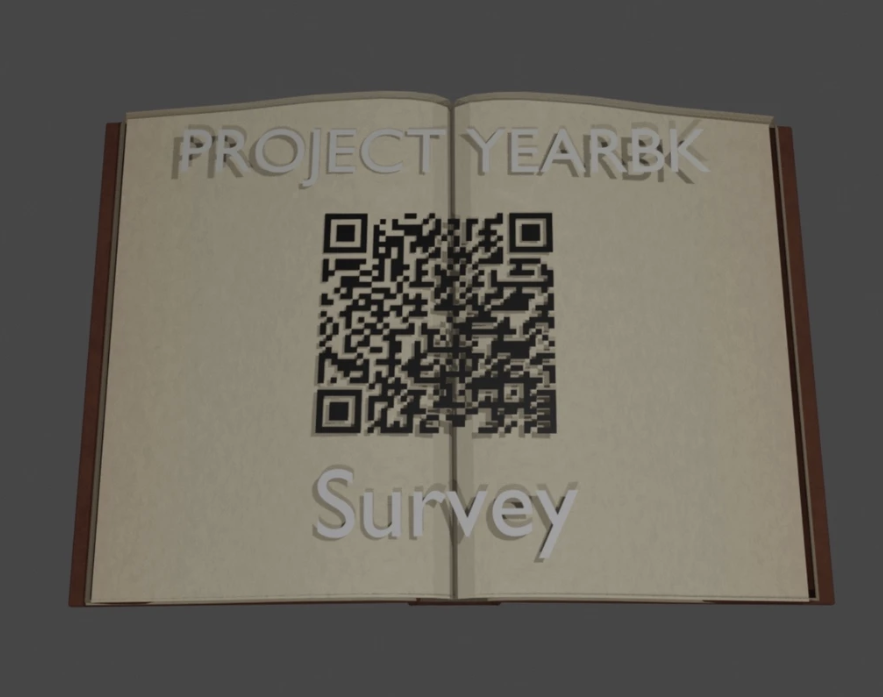
Iteration II, attempted an open design. During this point in the project, we had begun to create surveys that we displayed around campus that would give us a statistic on how many students would support this initiative.
We opted to use flyers over this approach due to the complexity of 3D printing the QR code in the middle of the model. It also made it difficult to try and center the QR code without attaching it to the model itself but was overall a fun attempt to model the book.
ITERATION III.
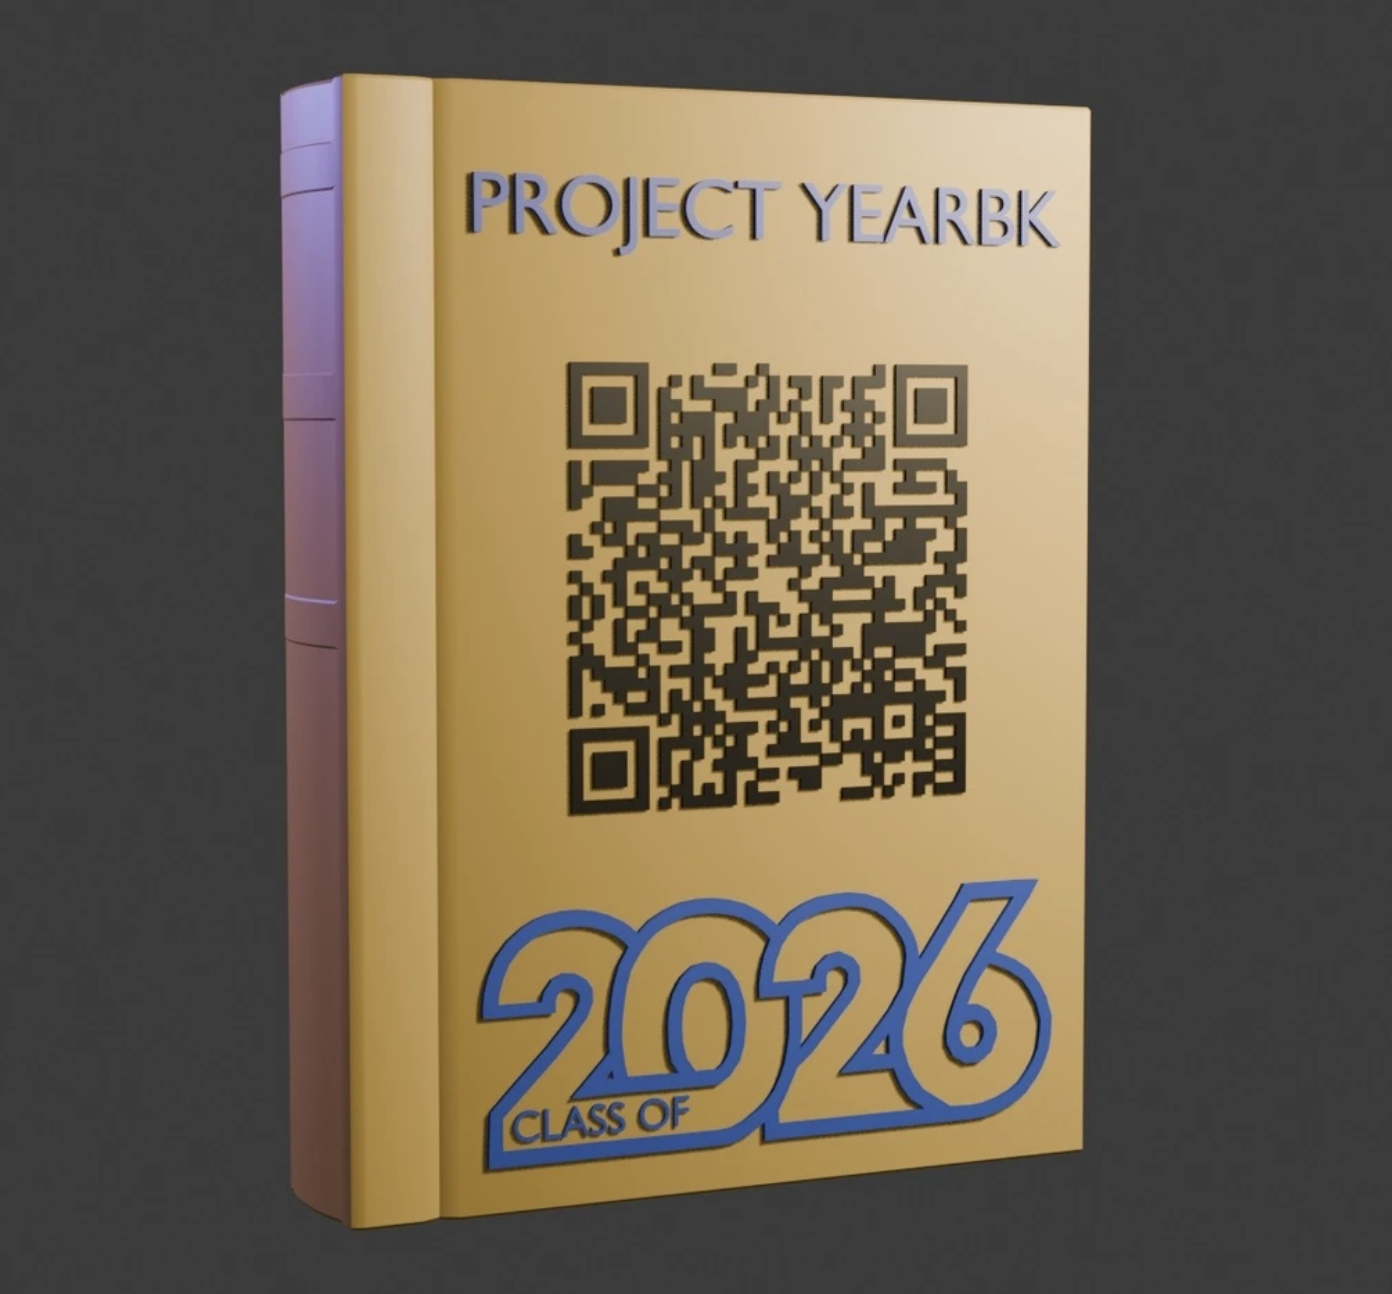
The final design, Iteration III went back to basics again. This time, I chose text that was a little smaller and instead represented our project. We thought it would be better to represent our brand and to create 3D printed versions that students could scan and interact with. Students ended up loving our small prints of these models. School colors were adopted for the model and a finishing touch, we added the class of 2026 school symbol which really brought the model together. Making the QR stand out even more in order to submit photos so that students could send them in and ensuring it was scannable was top priority.
3D Printed Model
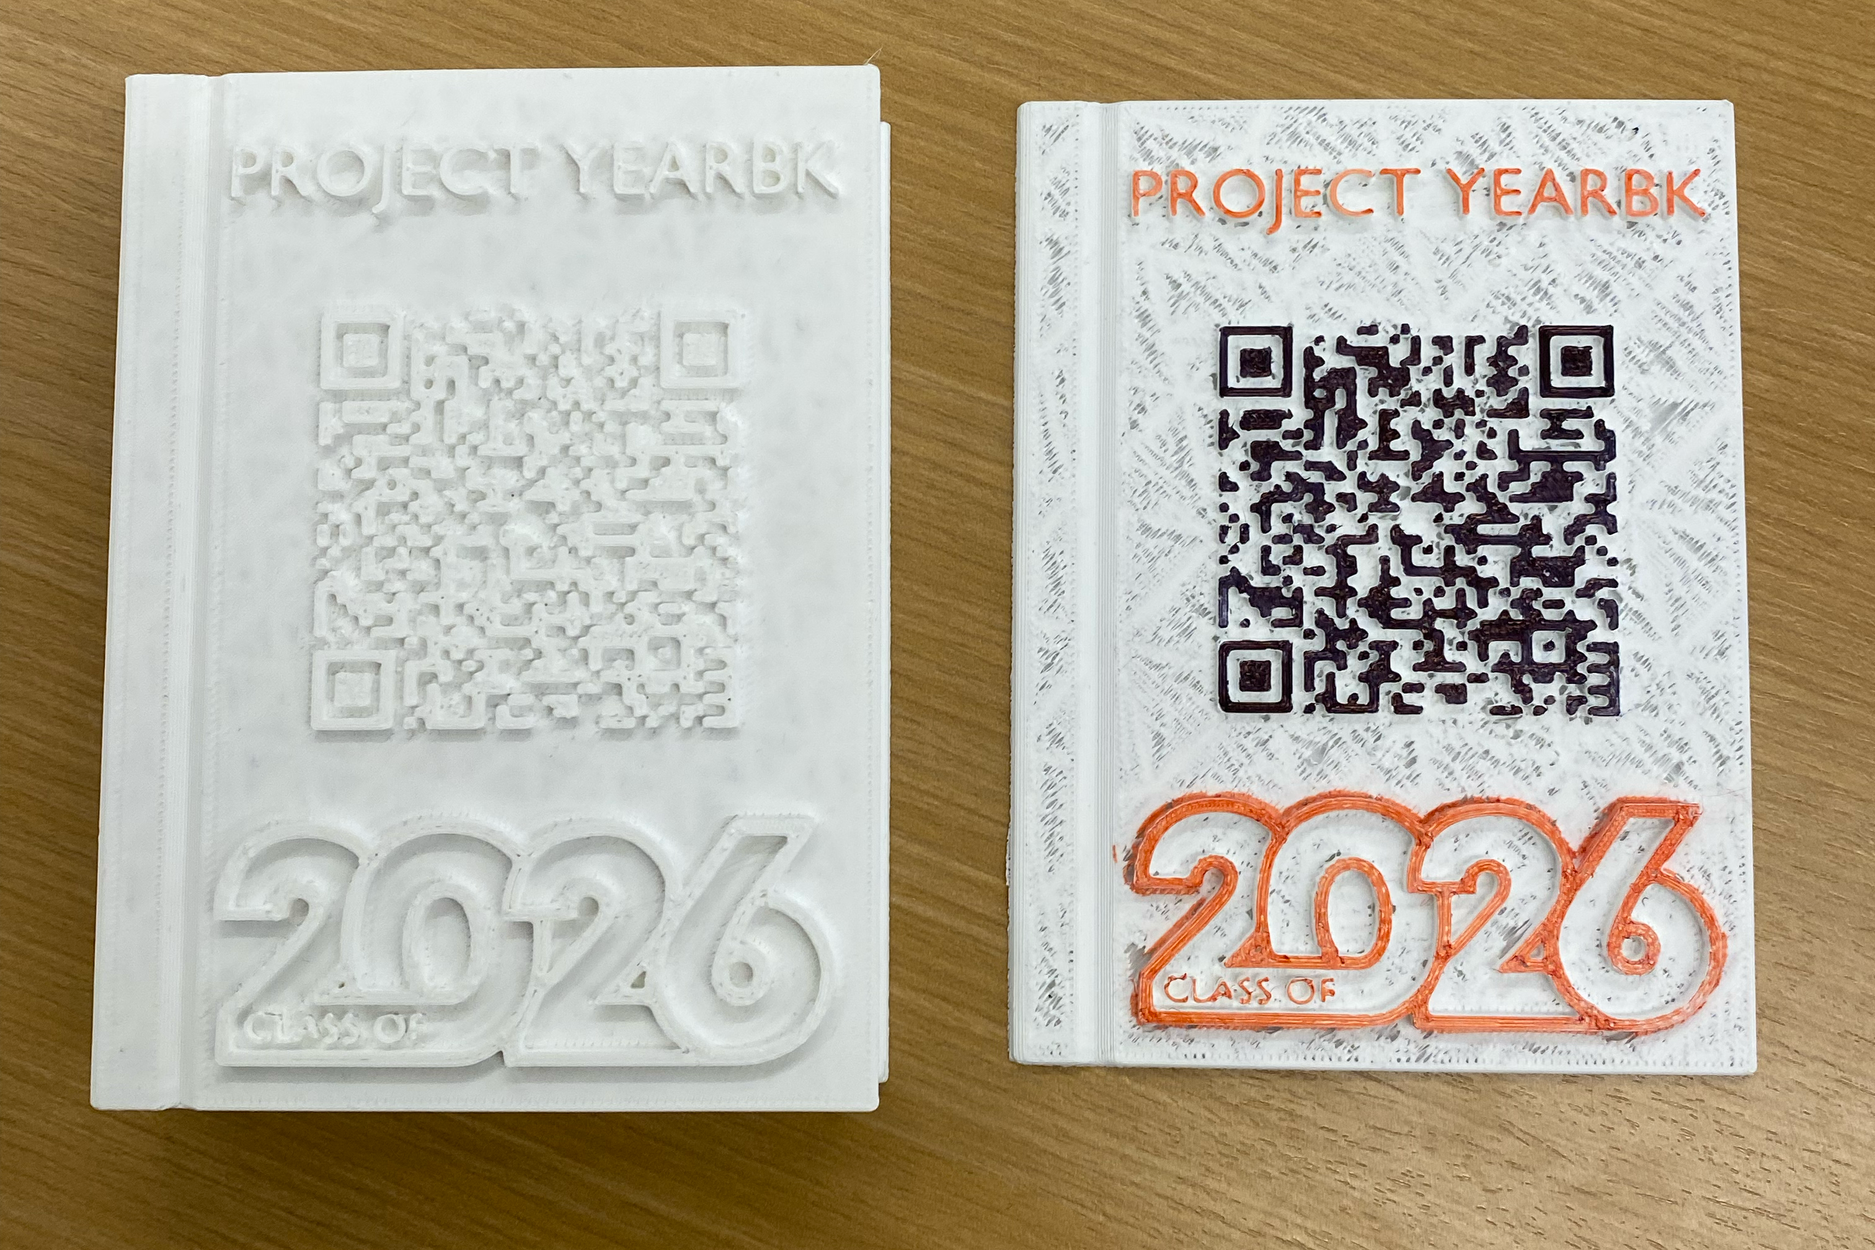
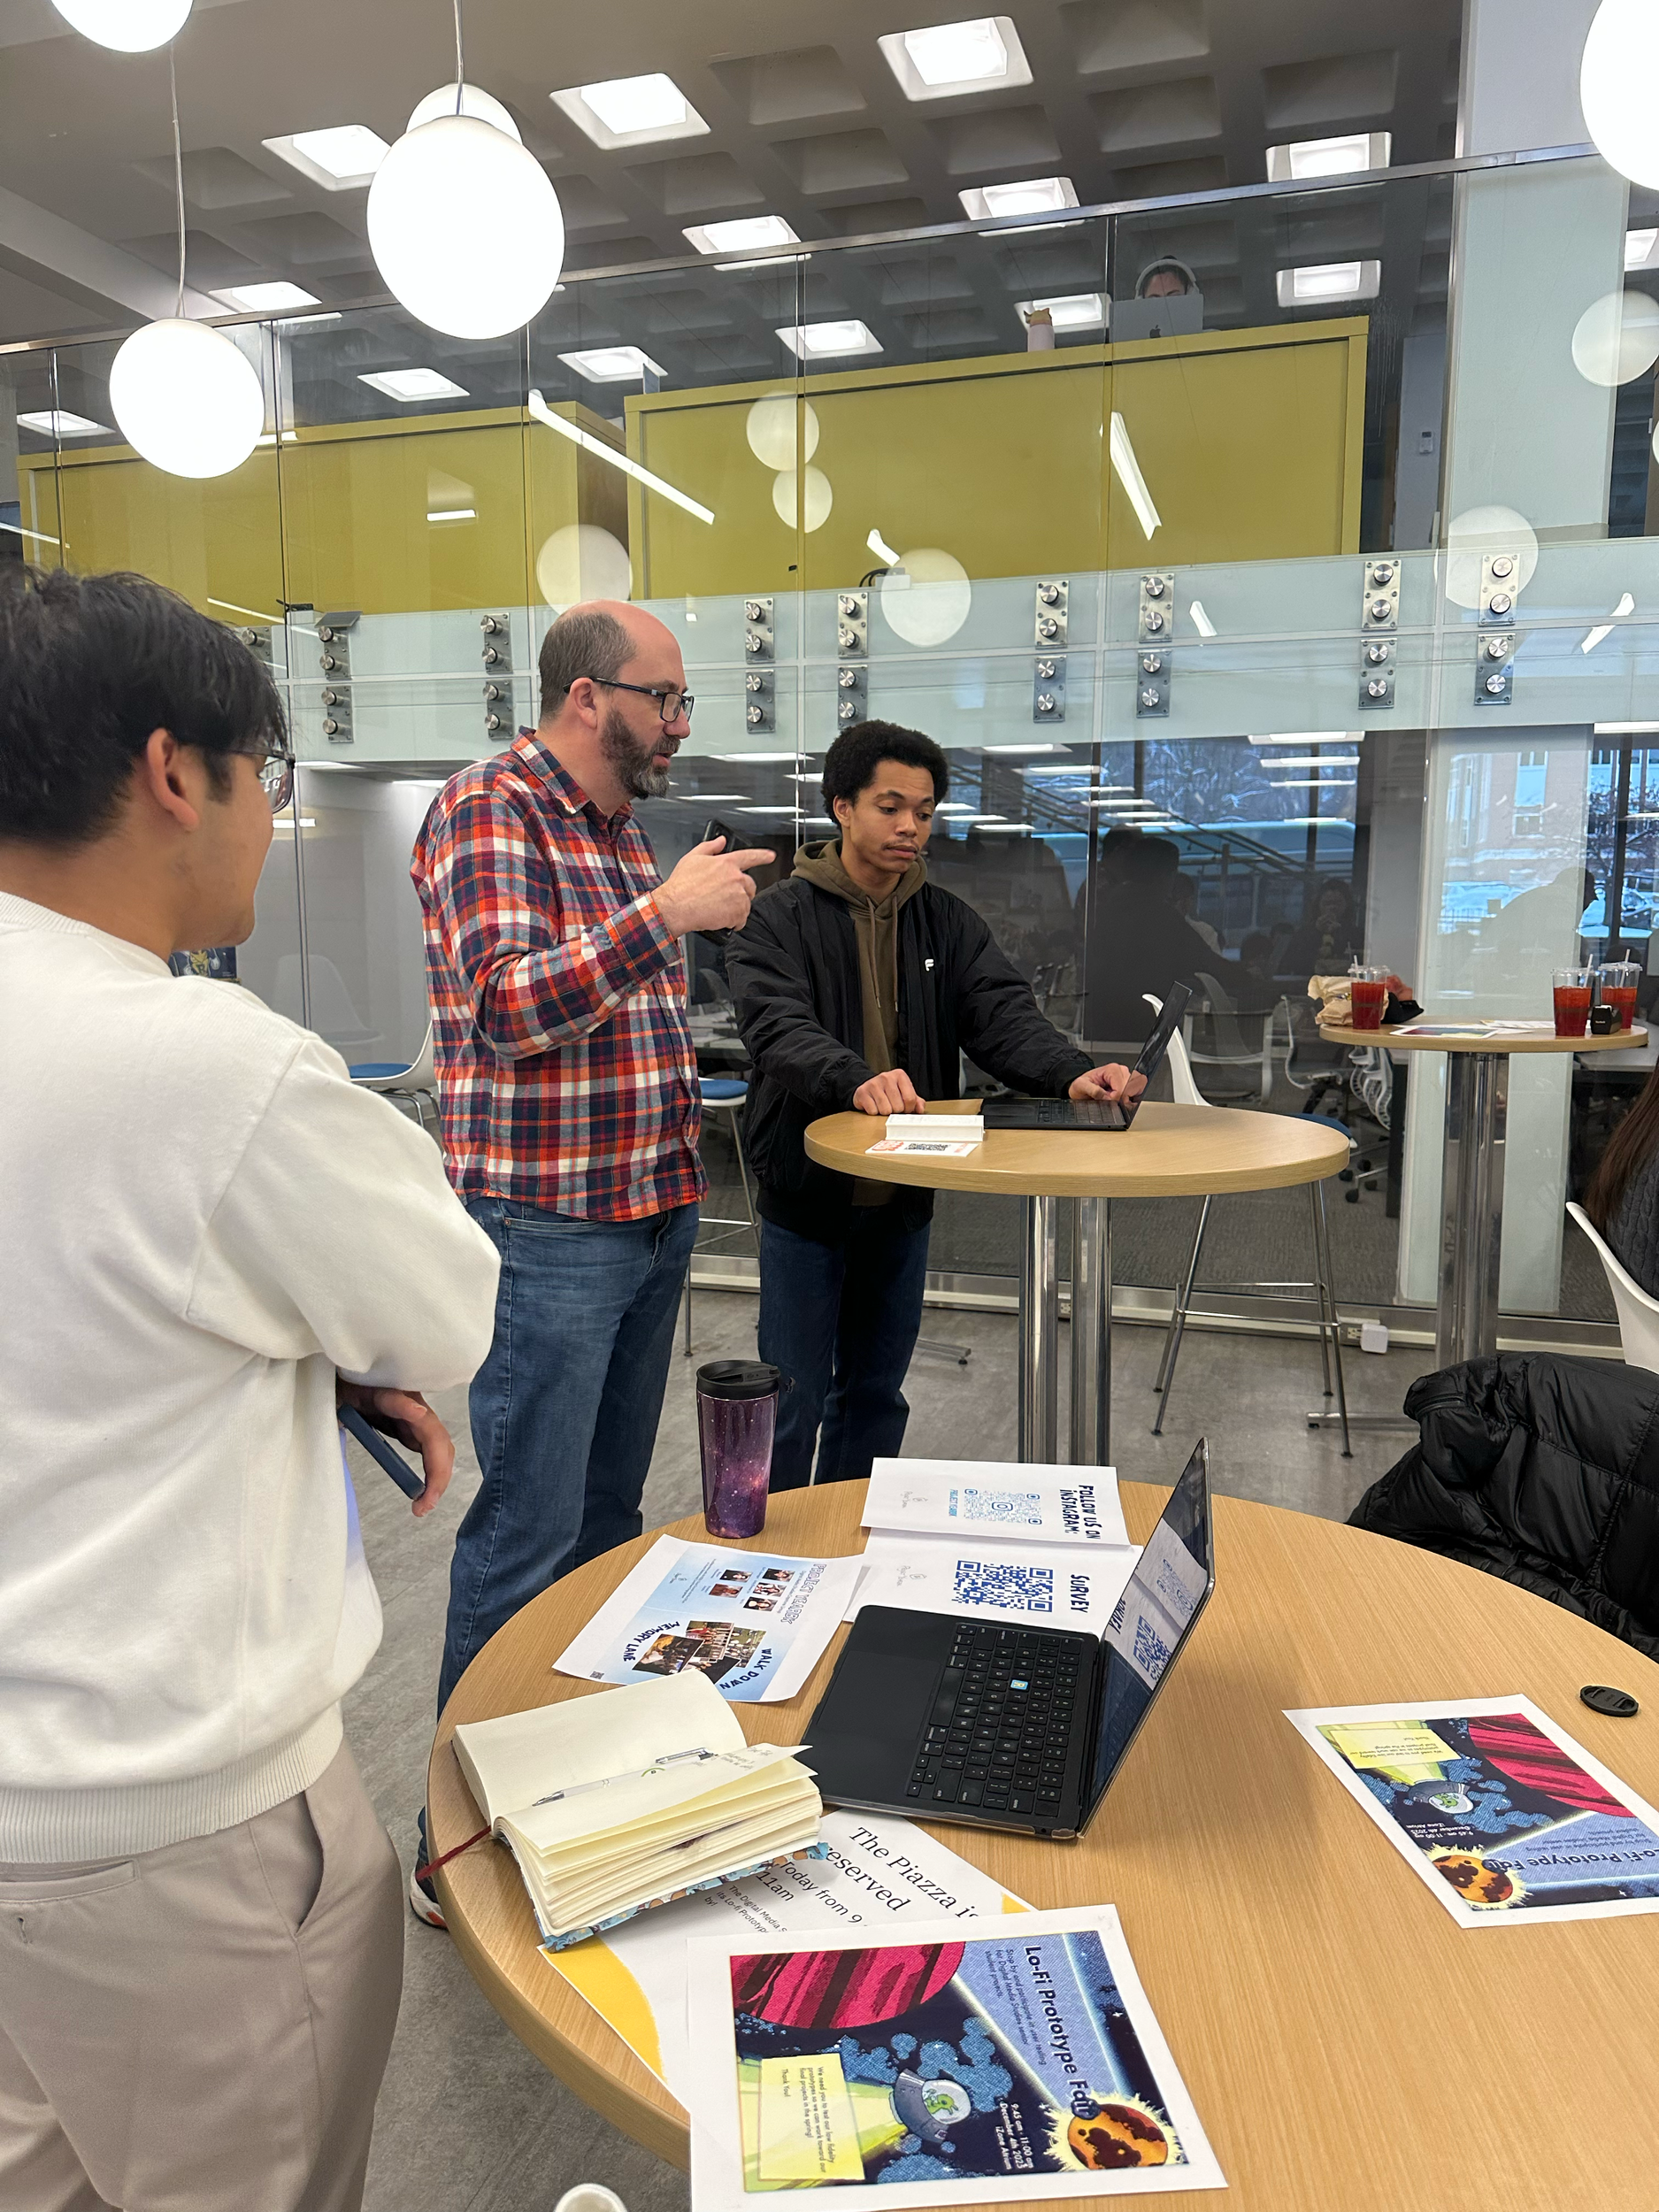
Presented our survey material and 3D prints for the first time at the Low-fi Prototype fair alongside our XR simulation run. (Nov.2025)
Once our 3D model was complete, we had it 3D printed so that students could have a fun, interesting and tangible object to interact with. It represented a taste for what was coming. The one issue we ran into was trying to get our models printed with color. Our 3D printers on campus were not equipped with color. Using our Capstone budget, we purchased colors later on. However, for our initial Low-fi prototype fair, we used markers to make the QR code and text visible.
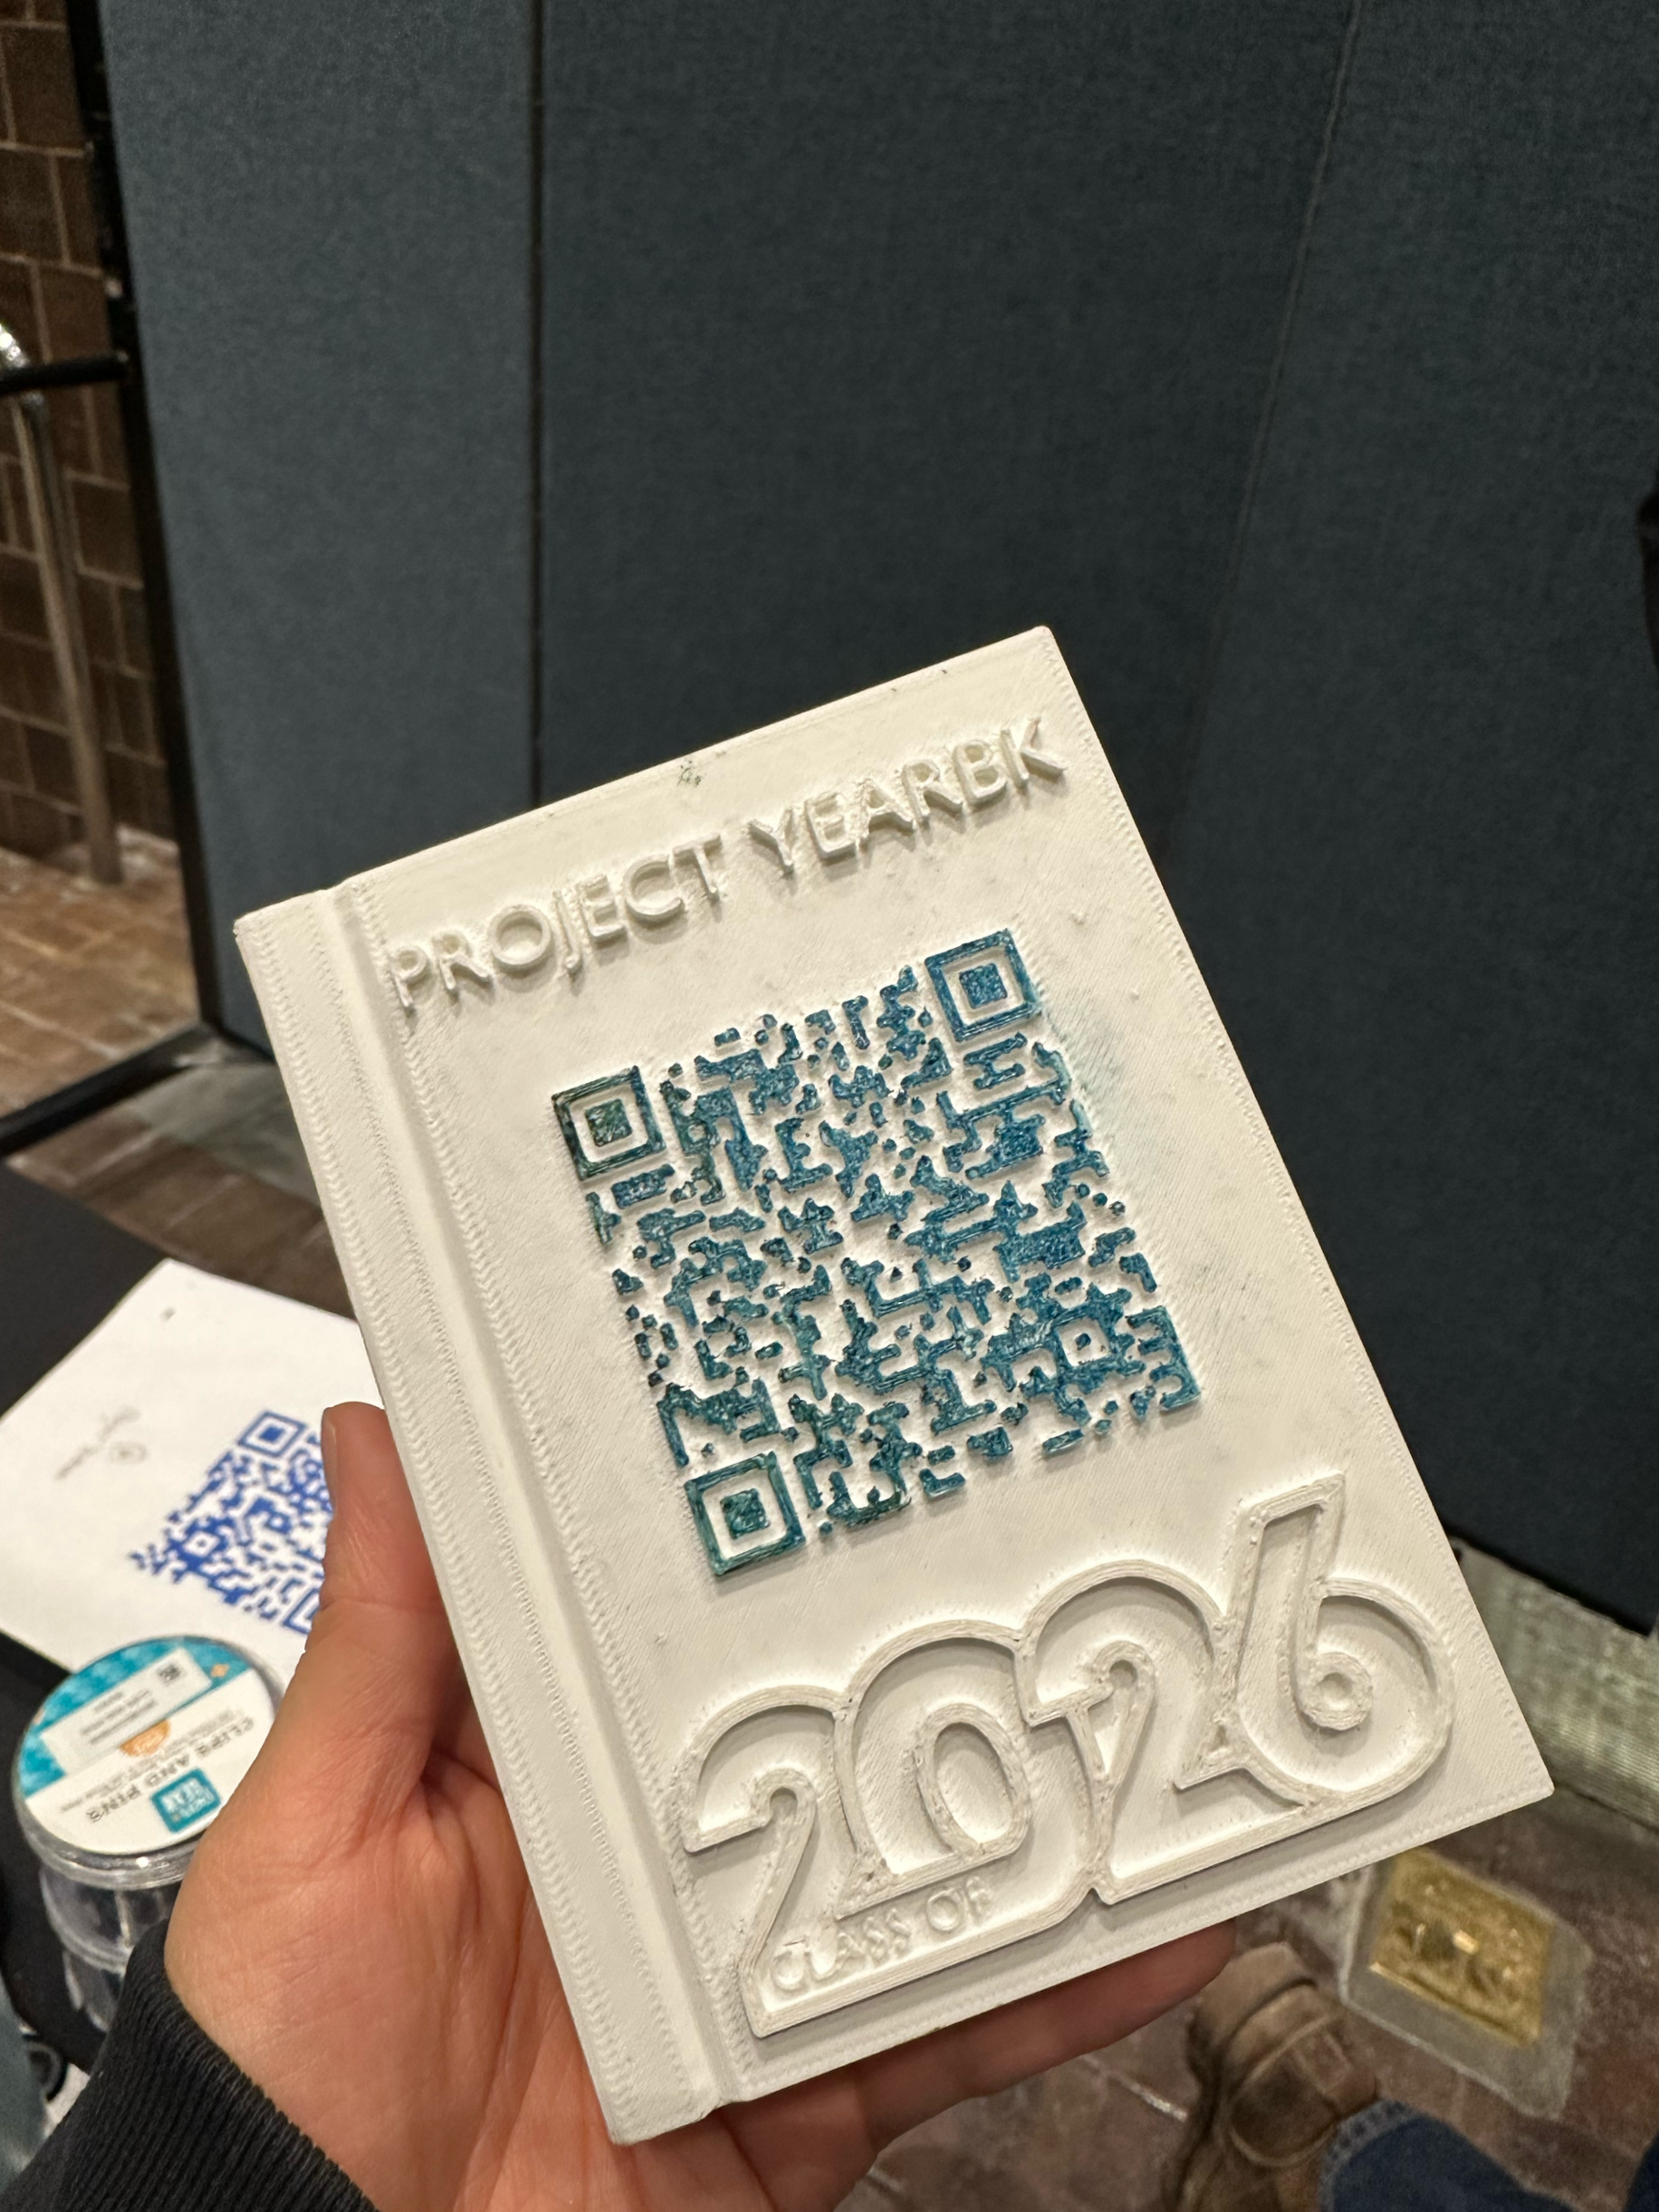
The 3D printed models were later used during our first Senior student event to gather photos that students took themselves and could upload to our box folder. (Mar. 2026)
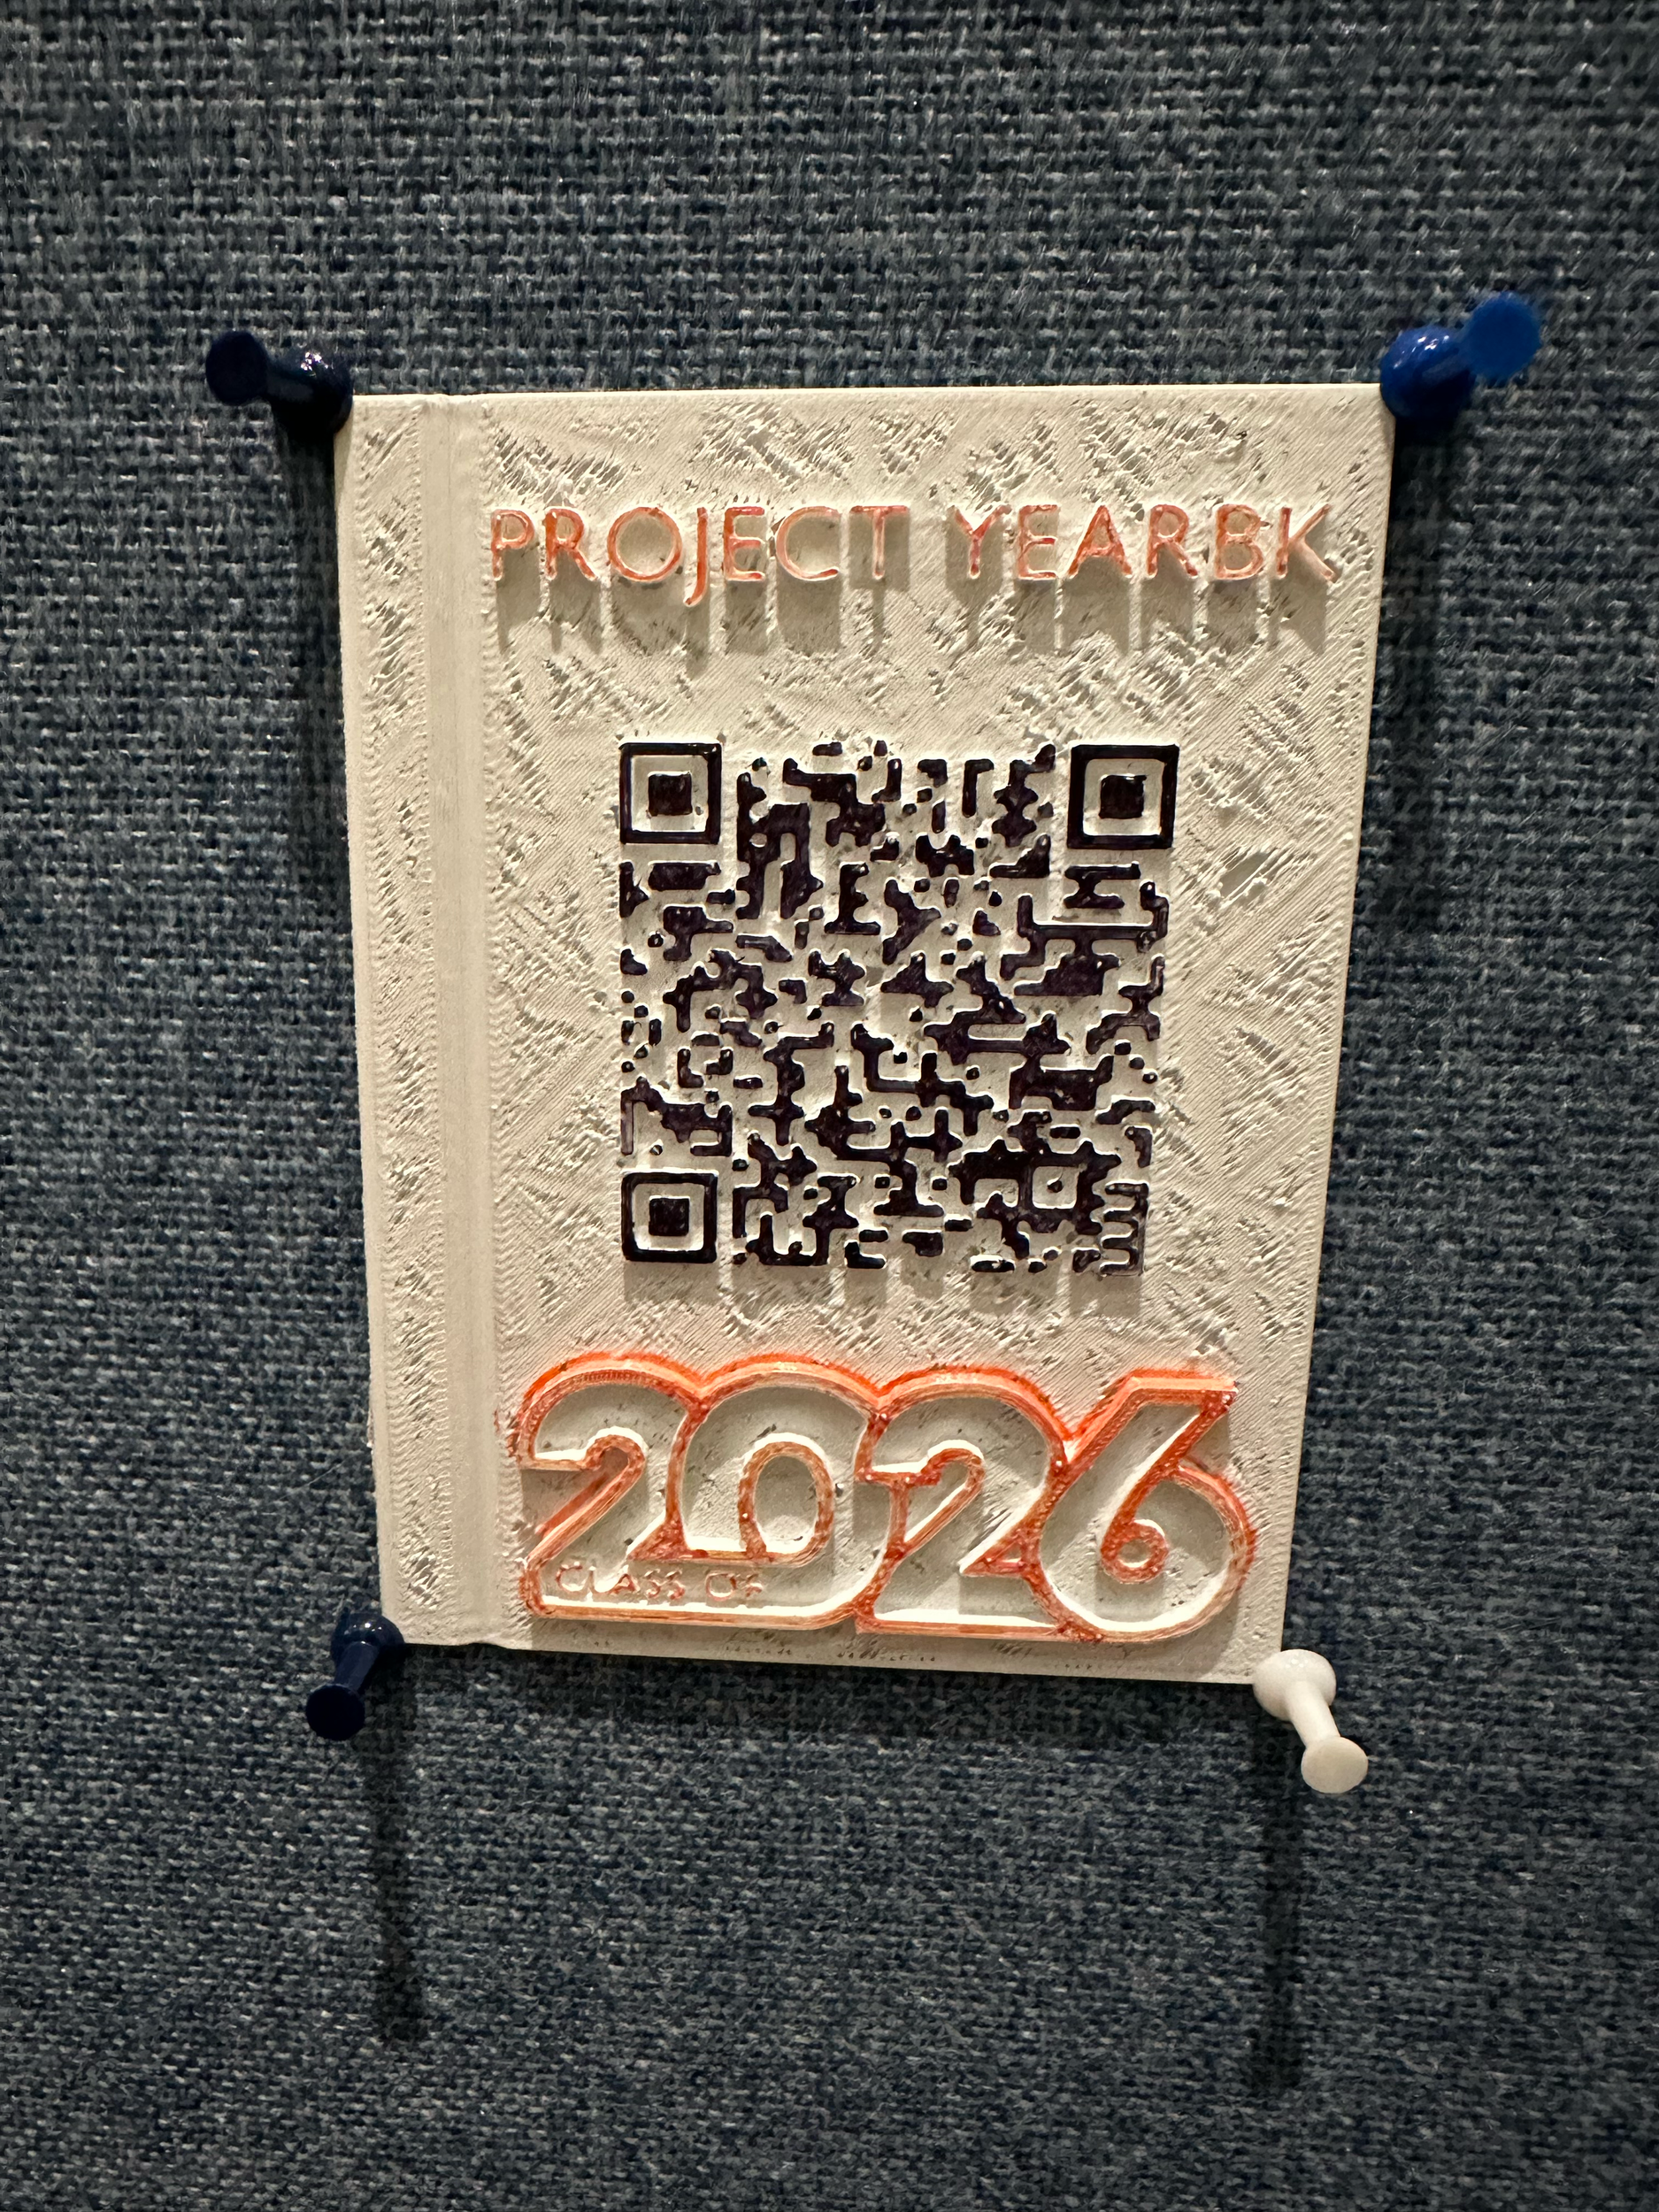
During our first event, we had 3 different models placed around the event. This gave us the opportunity to gather as many photos as possible so that we could make our yearbook. In total, we were only able to gather 12 photos from the entire event.
While we weren’t able to gather as many photos as we hoped for, we did earn an increase in our following on our Instagram page. We also learned something more valuable, students found our 3D prints fun to engage with and liked the idea of interacting with them.
EXTENDED REALITY (XR) DIGITAL YEARBOOK
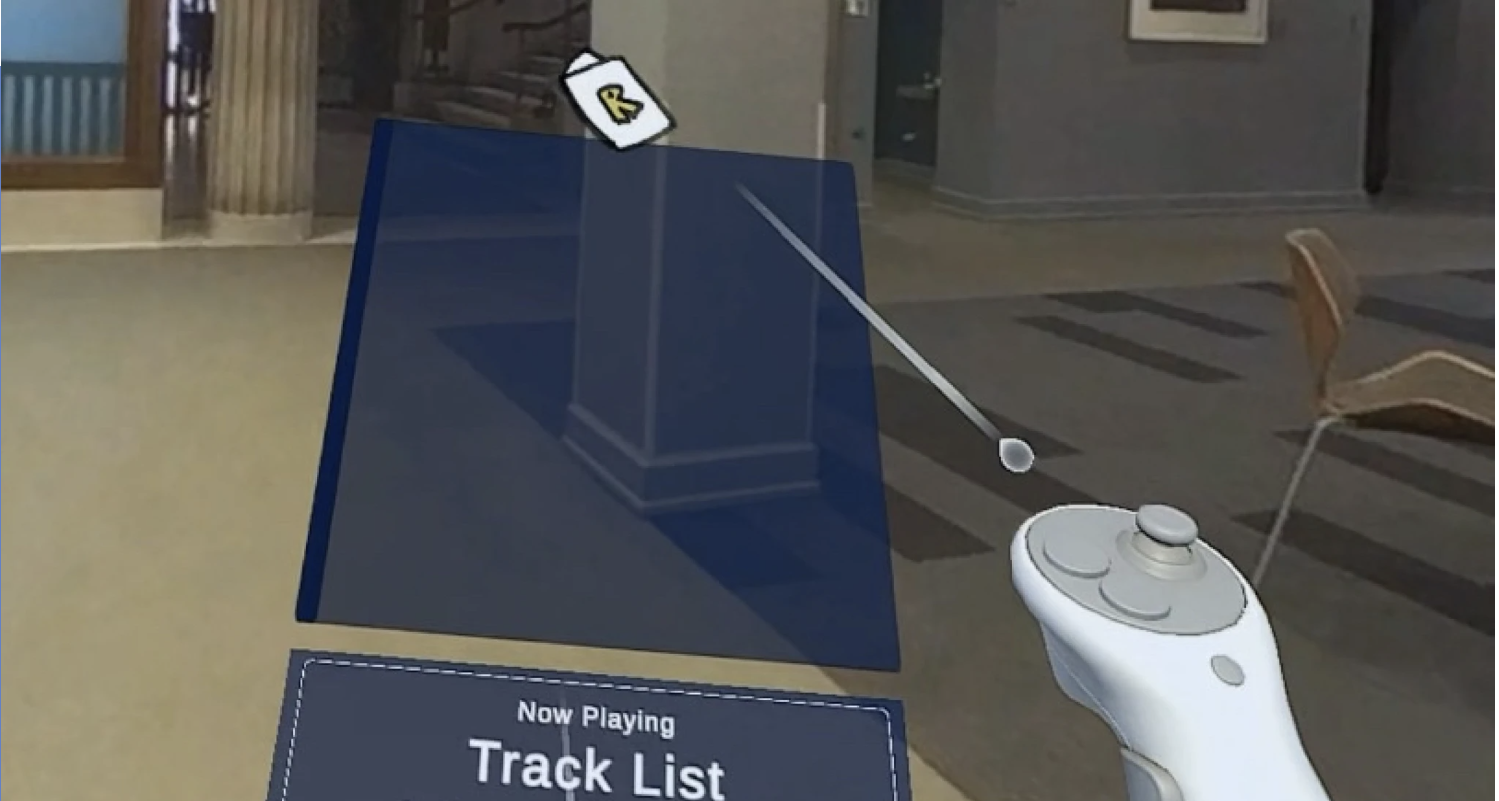
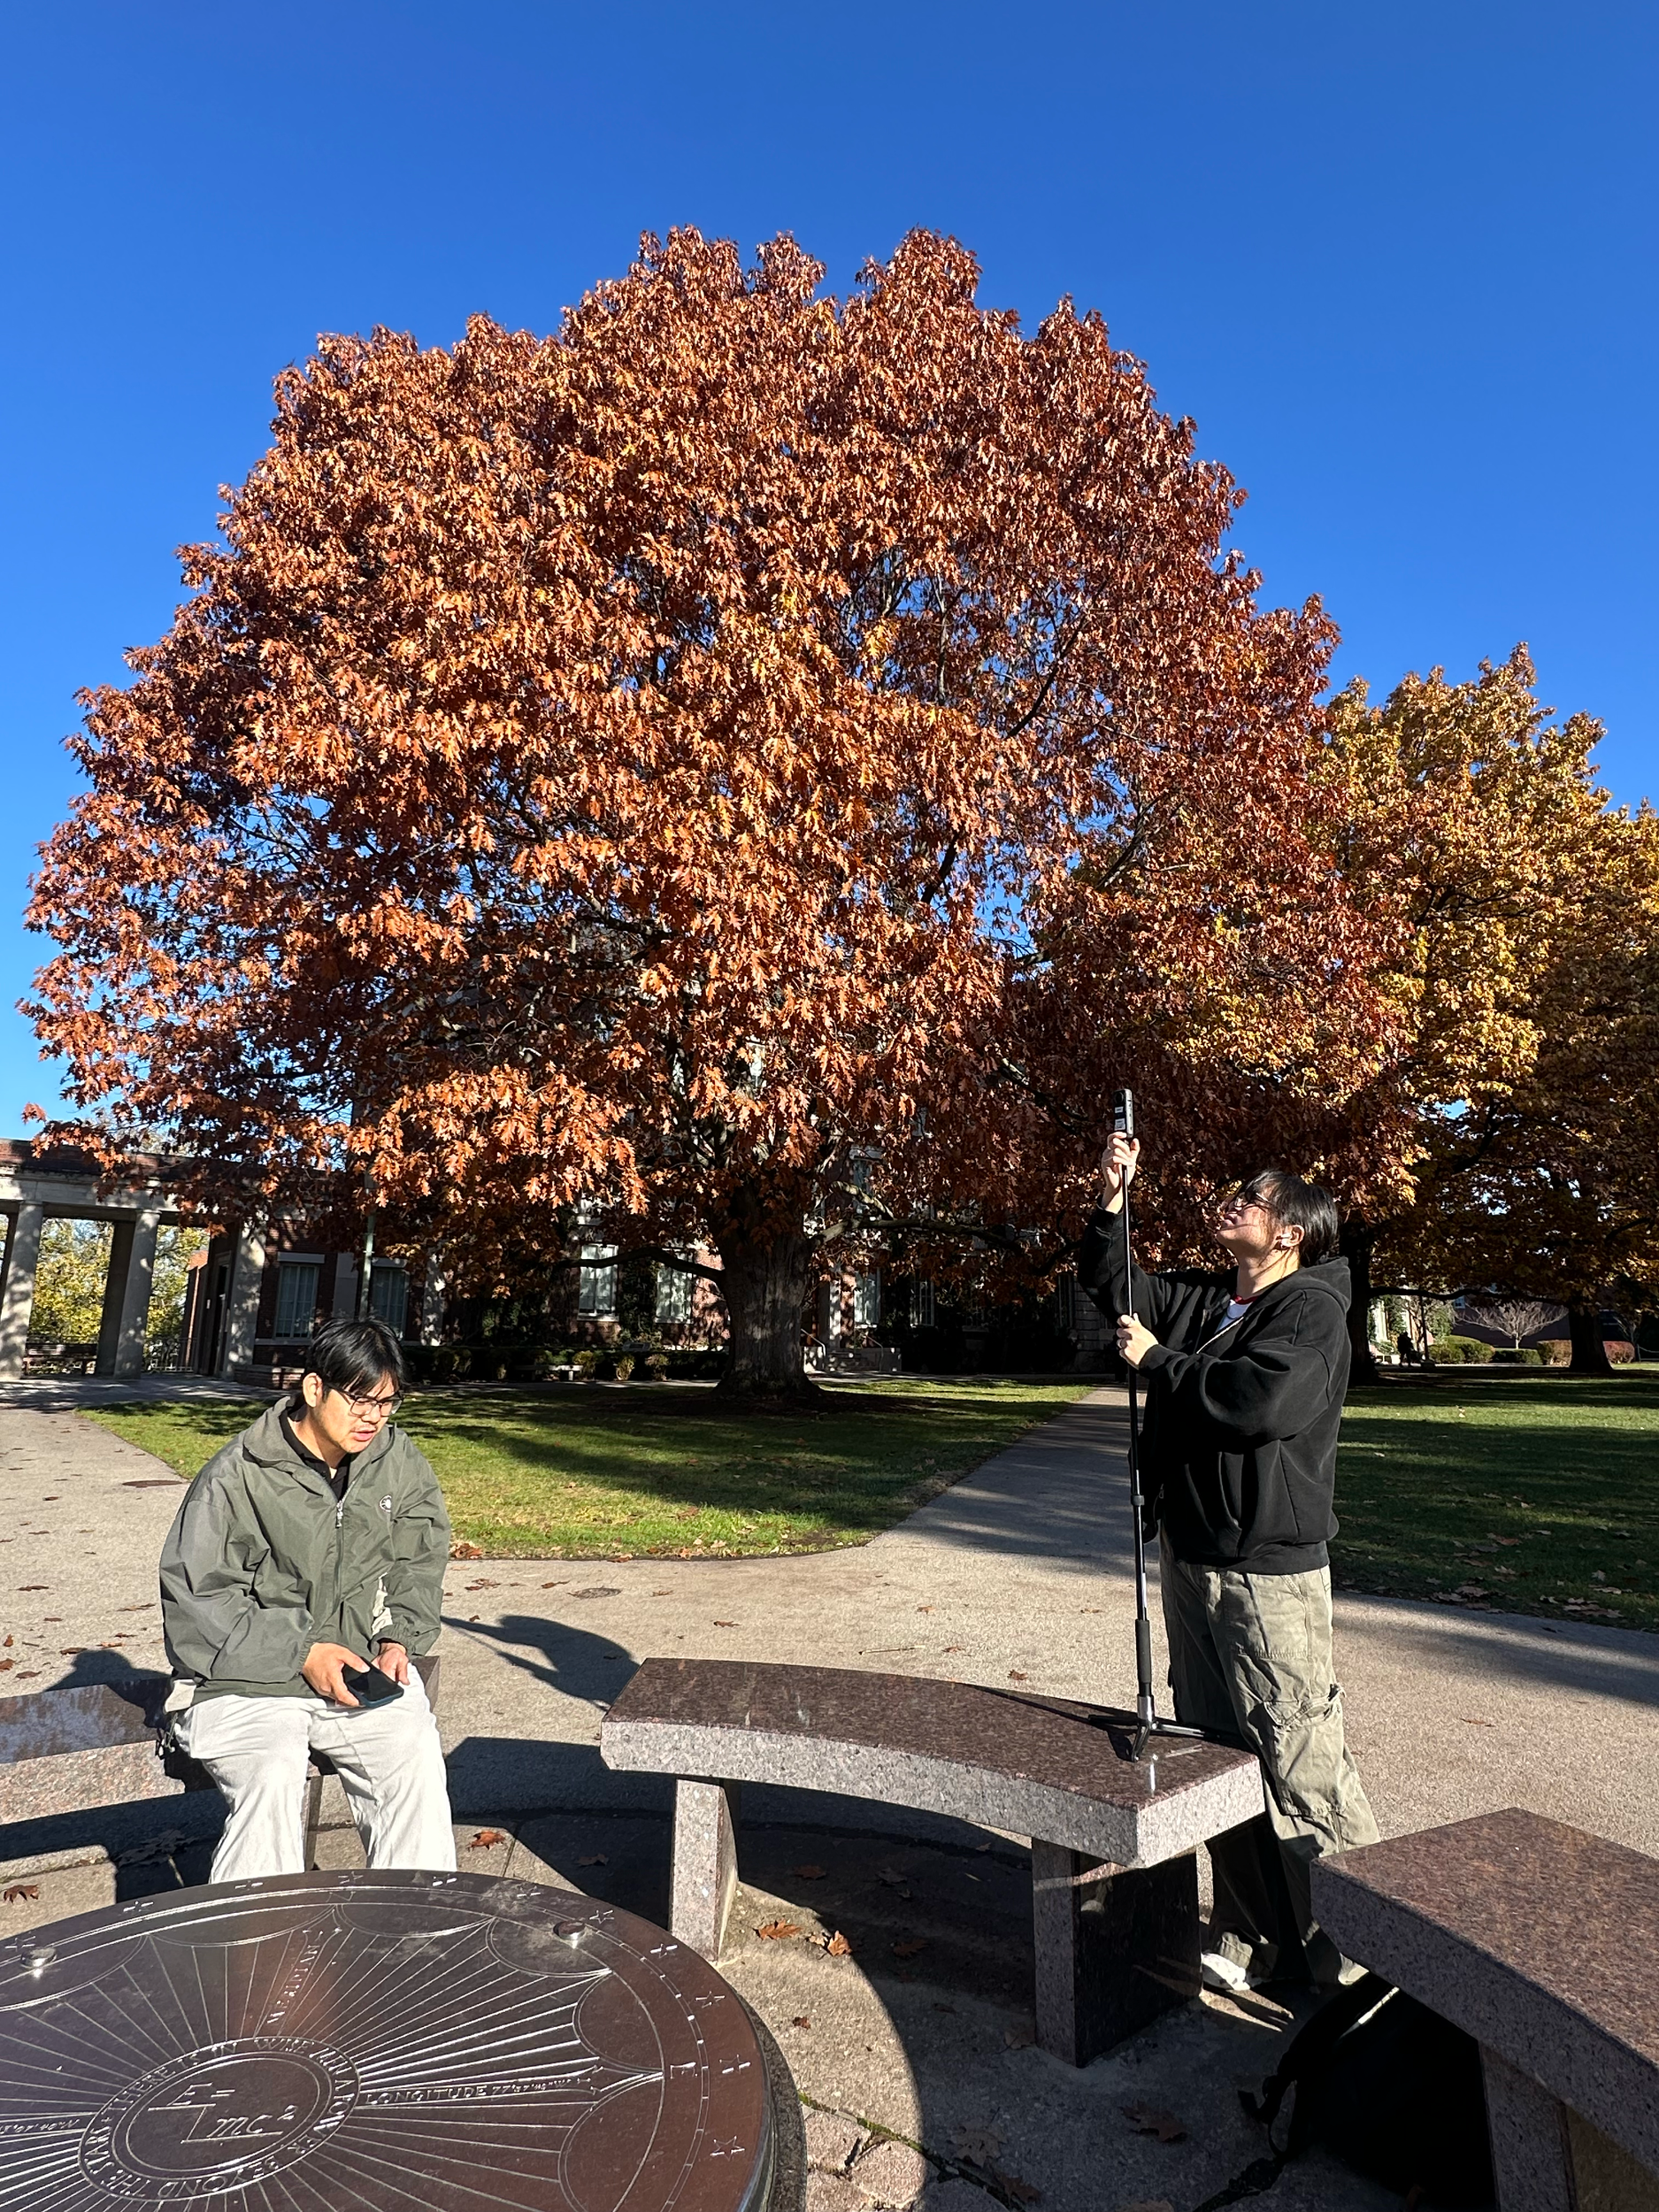
User interface and interaction controller.
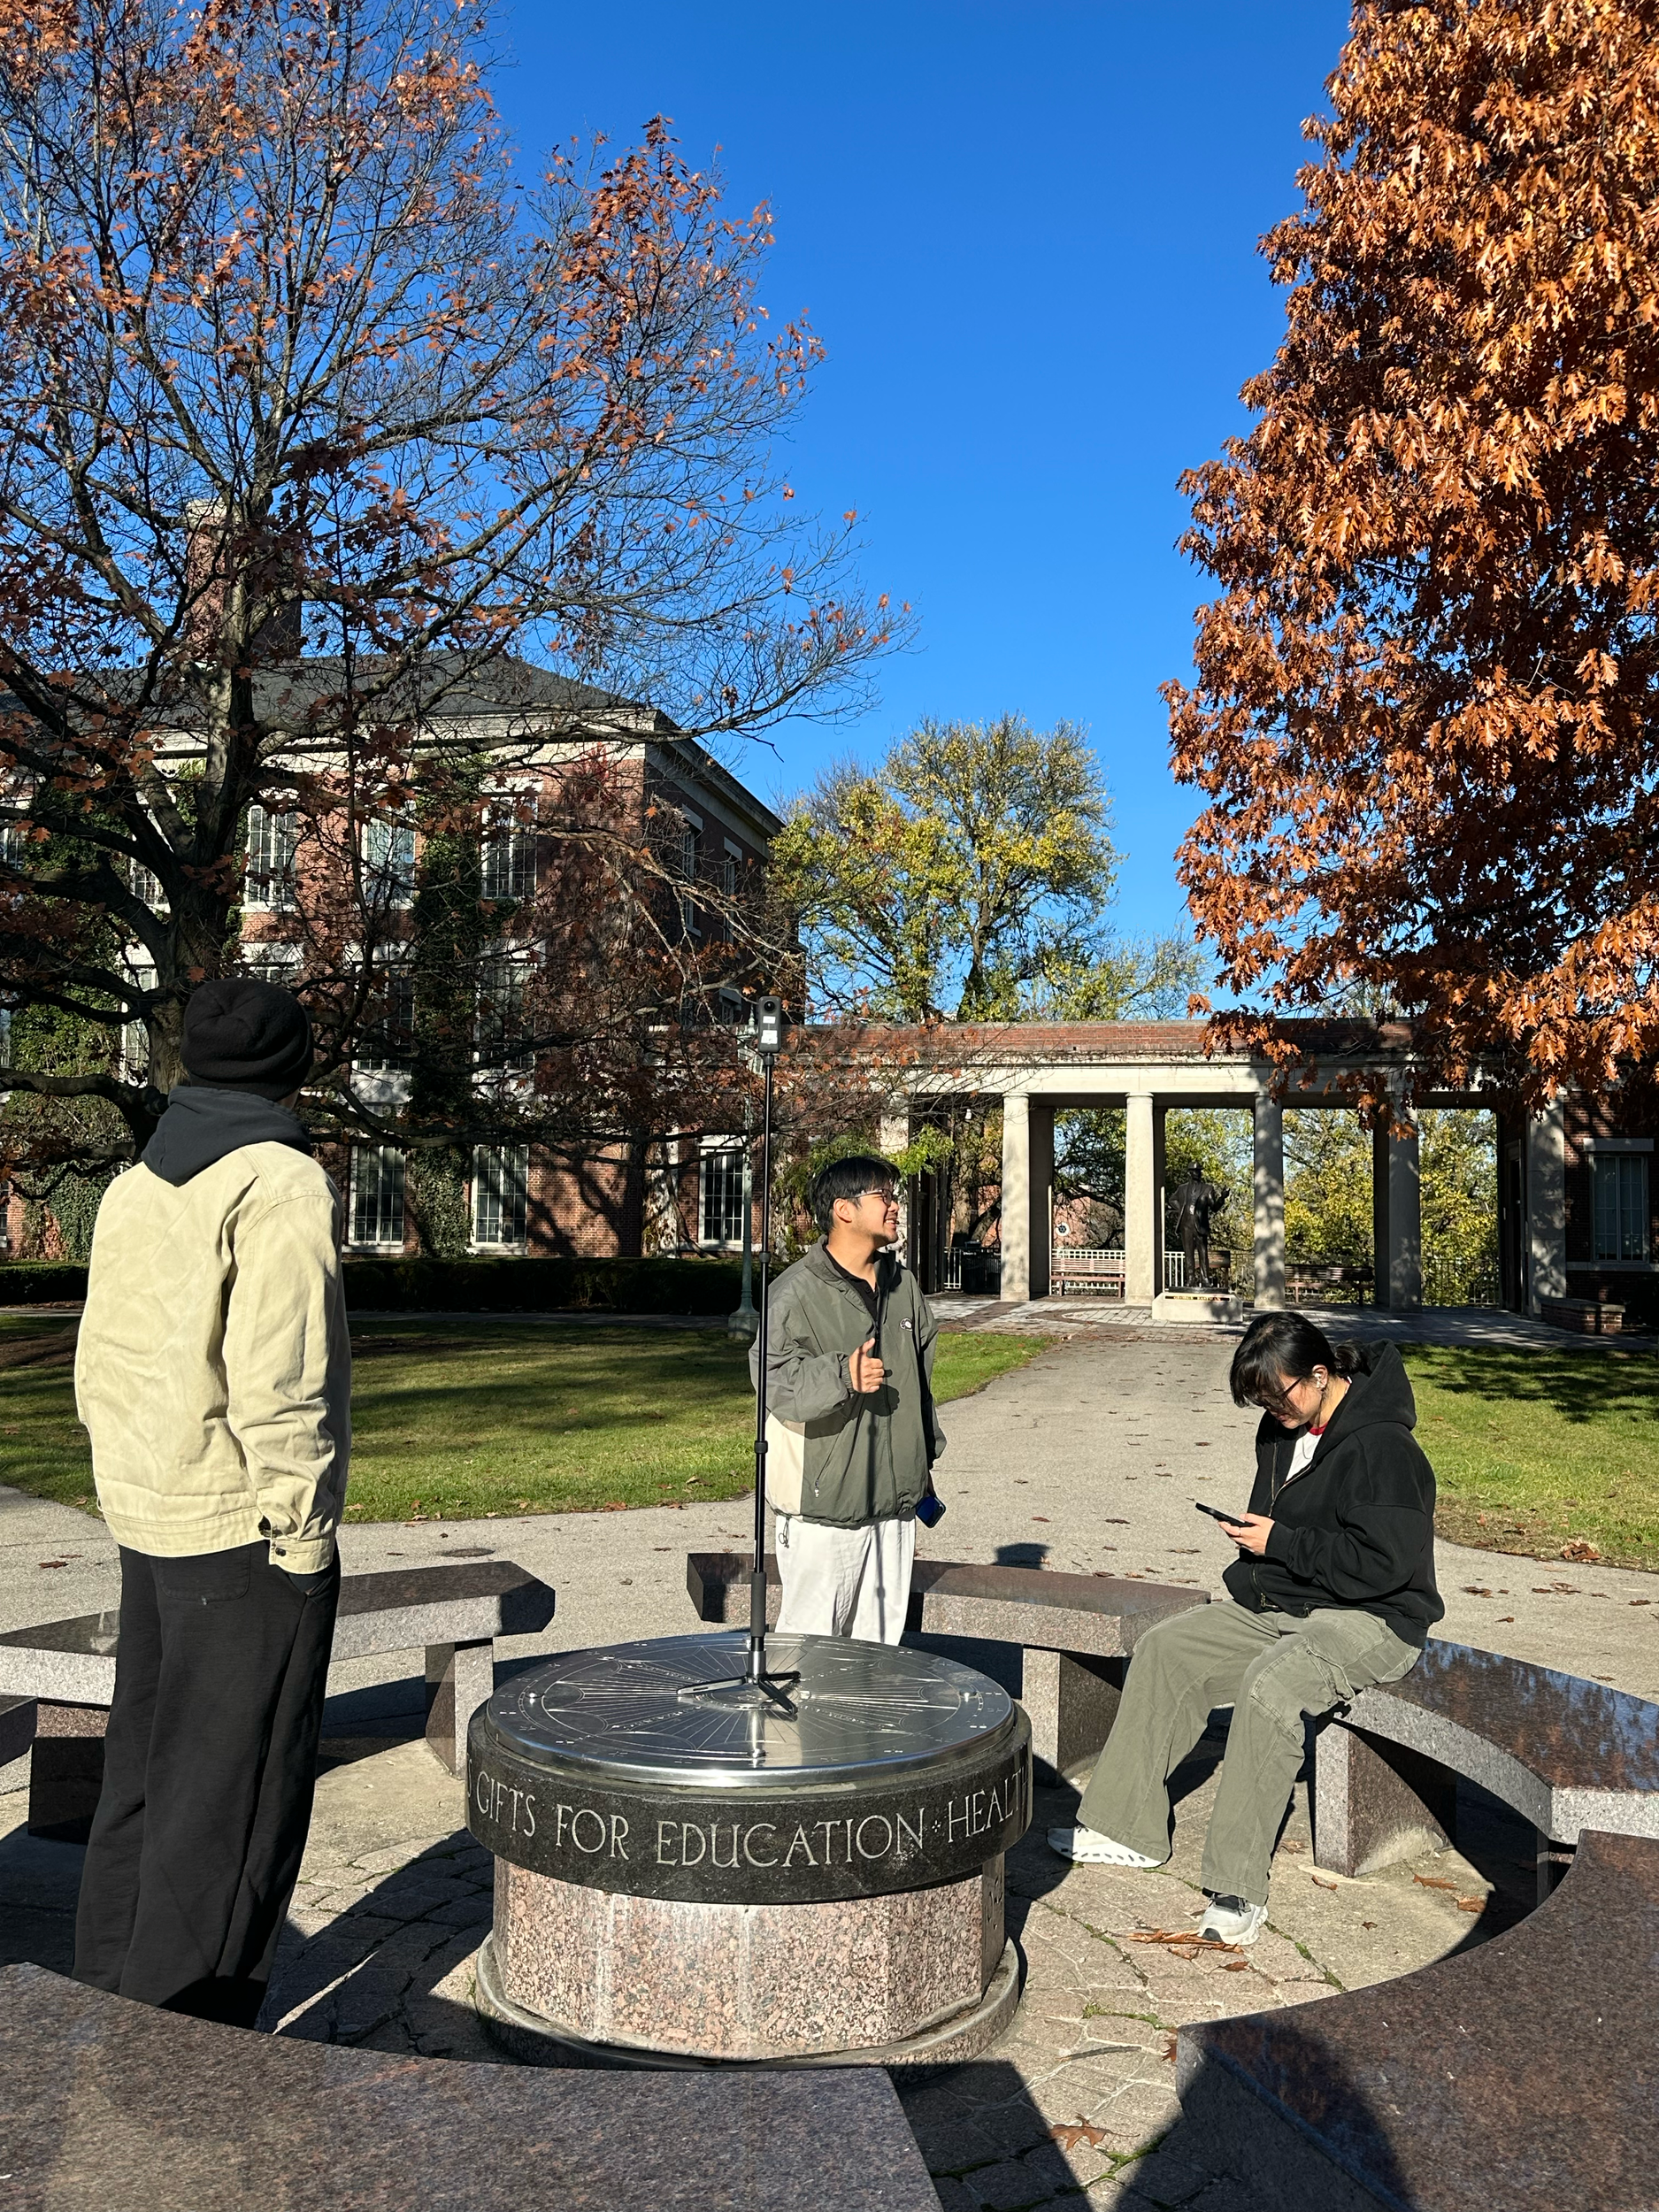
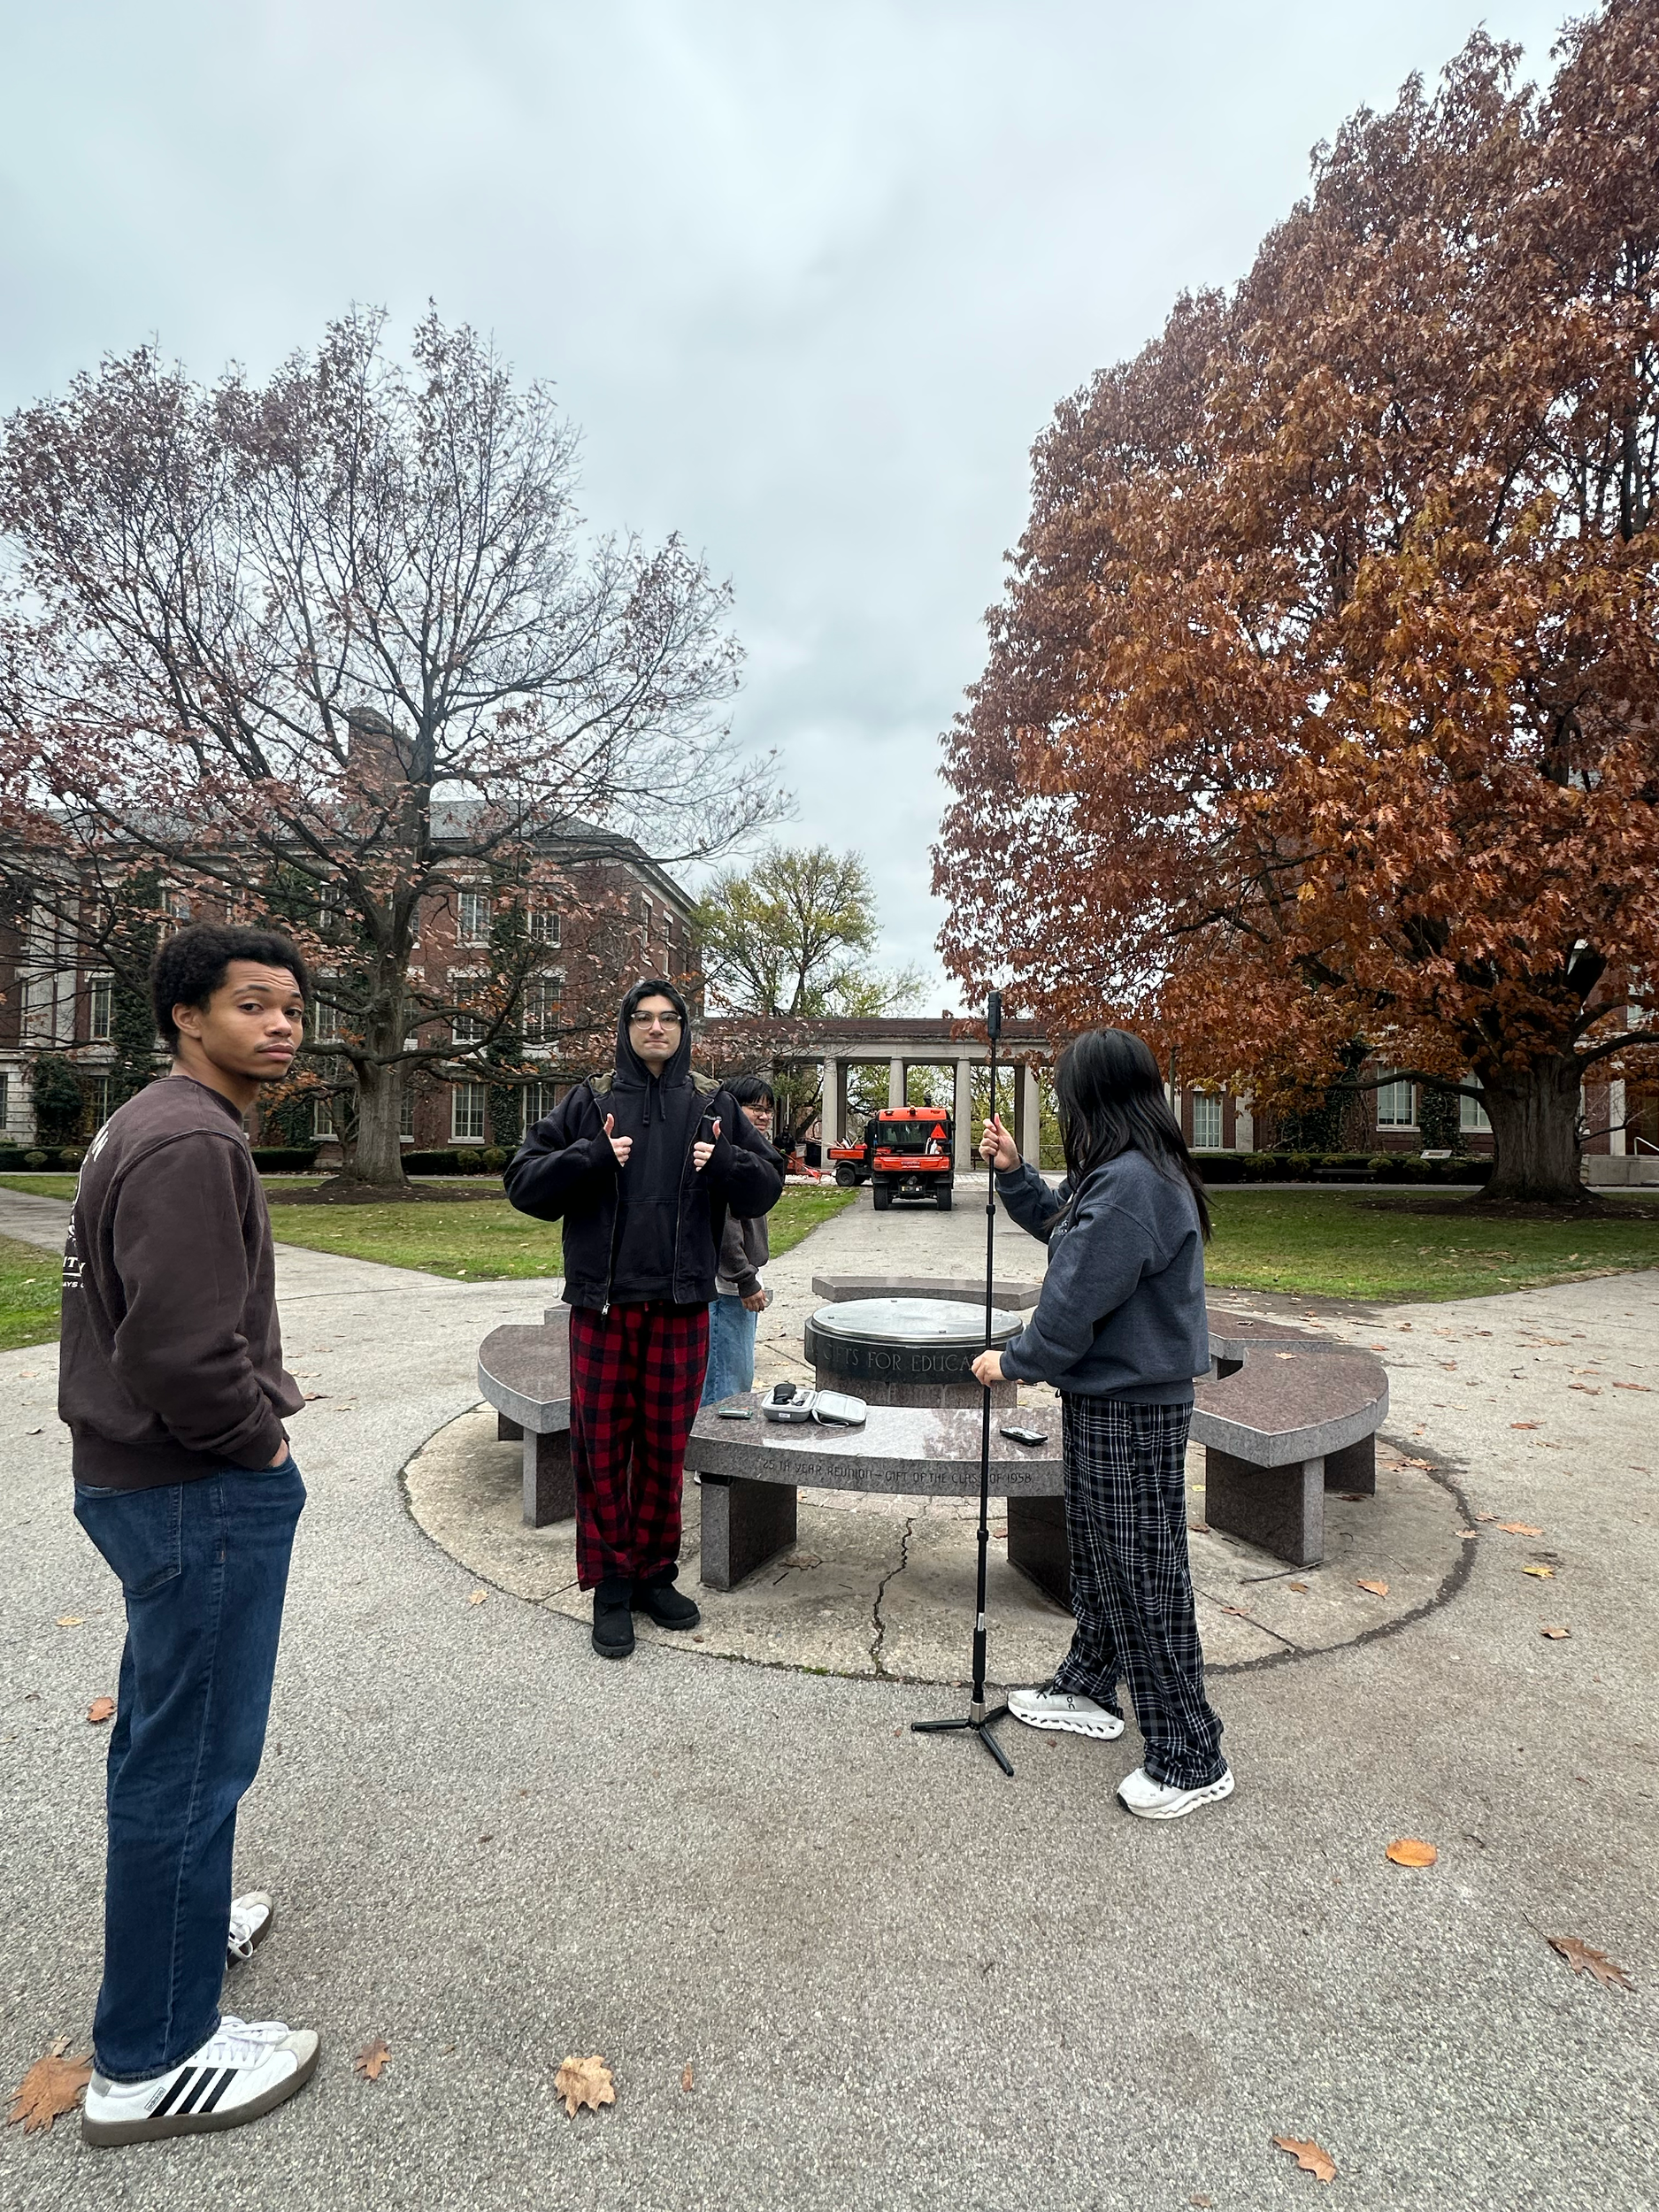
Setting up the tripod for image capturing around campus.
Template Design
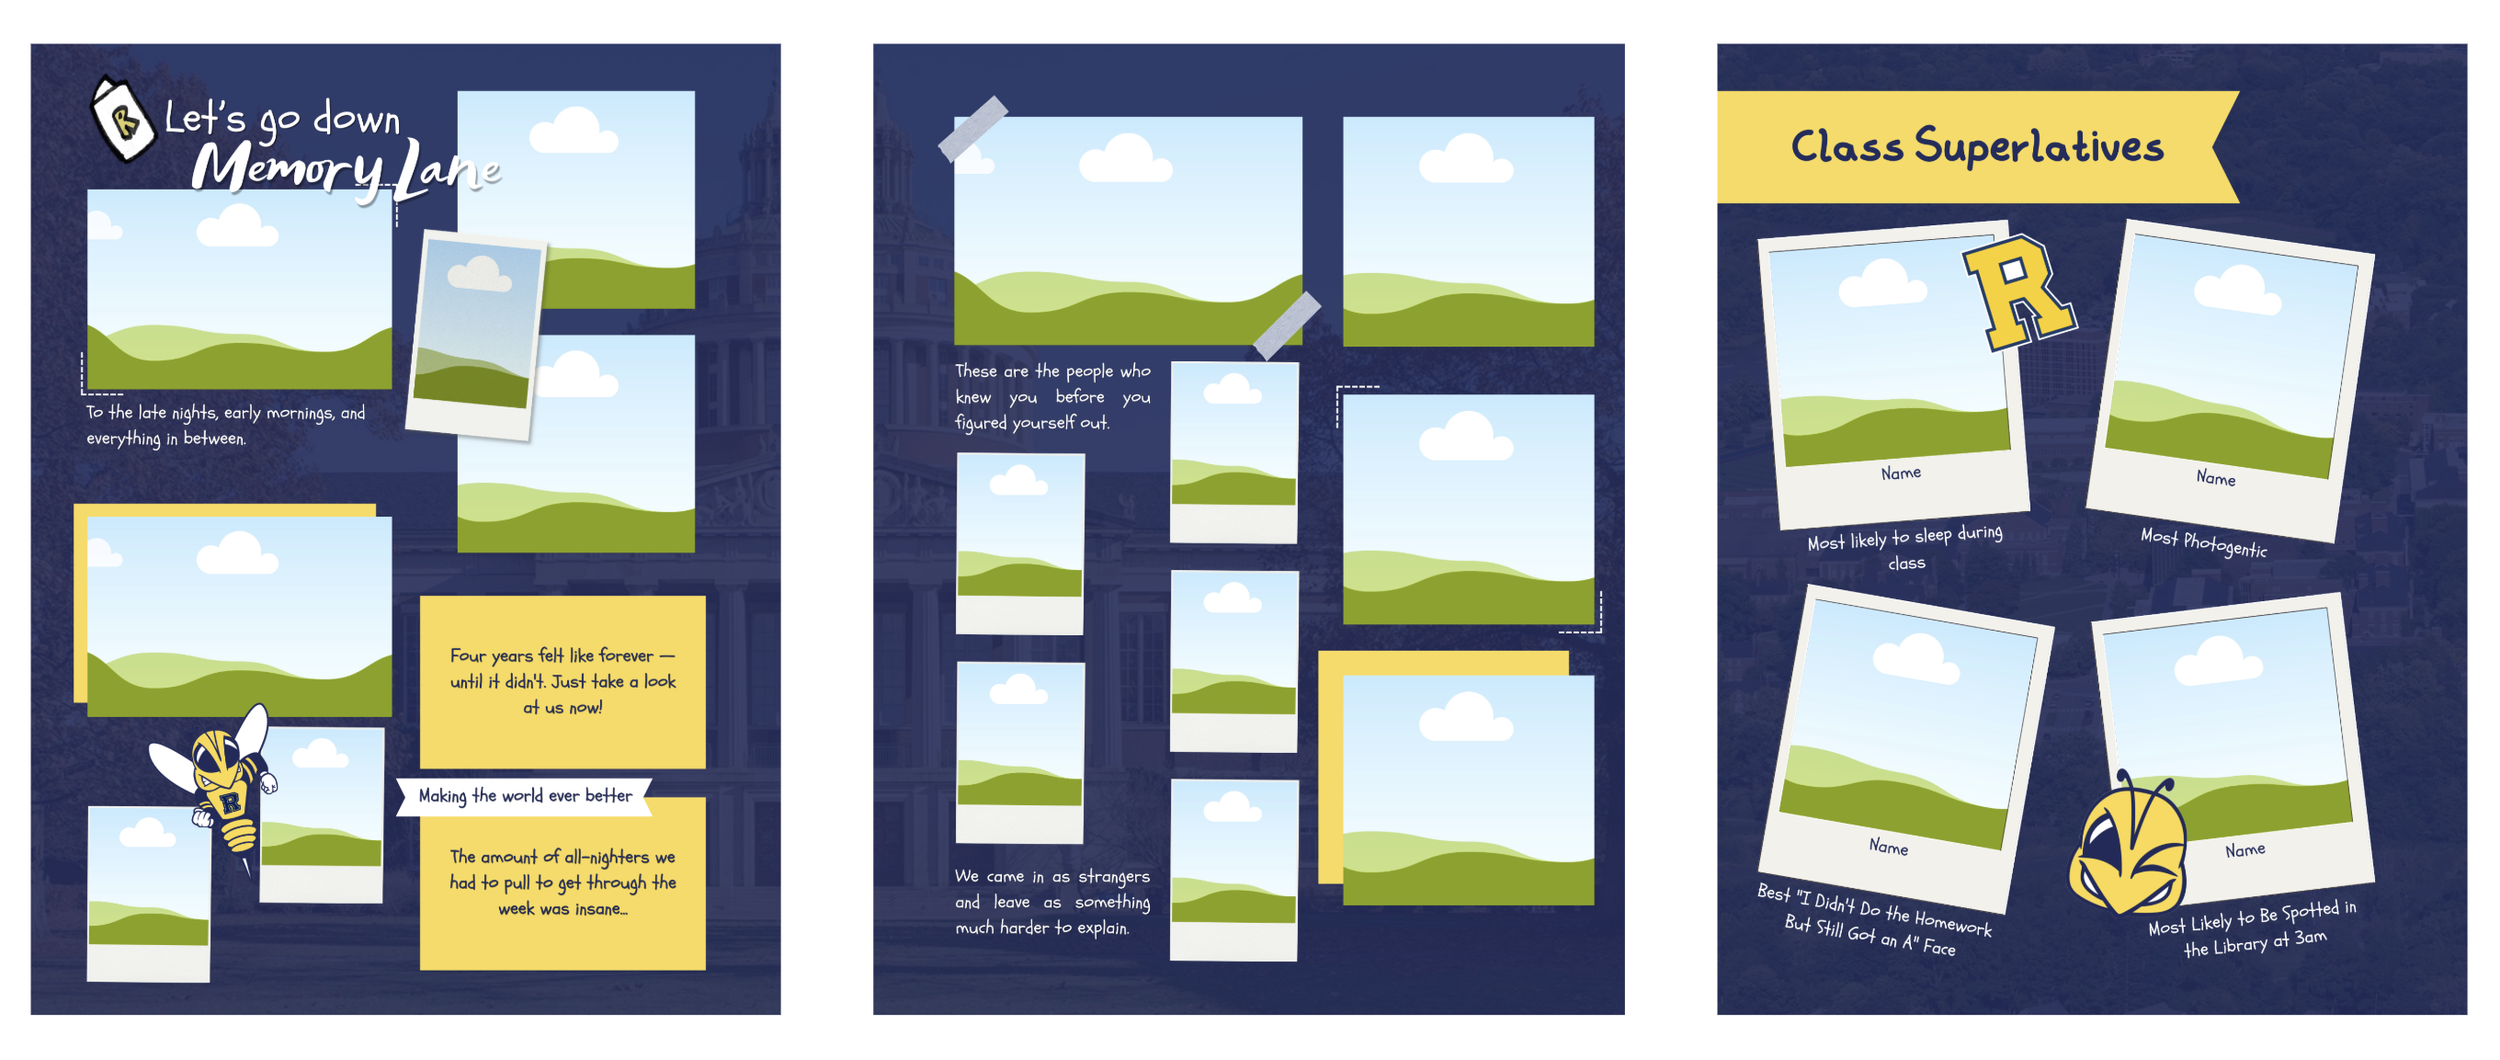
During the initial phase of brainstorming for this project, we wrote down as many student clubs, events, programs, campus culture activities and more. What we realized by the time we had collected photos and data, was the sheer amount of groups we had to represent equally on campus in order to better represent each student to feel seen.
We had also ran into multiple issues with collecting enough photos to even make our virtual yearbook feasible. Therefore, we pivoted to creating a template using Canva. As a group, we divided up the work to create general pages and left the rest for the students to create and design. We realized that by allowing students to design their own yearbook with their own photos, it not only maintains privacy for their own memories and photos, but also made it easier and cheaper for students to have their own yearbook with their programs, clubs and events that are unique to them.
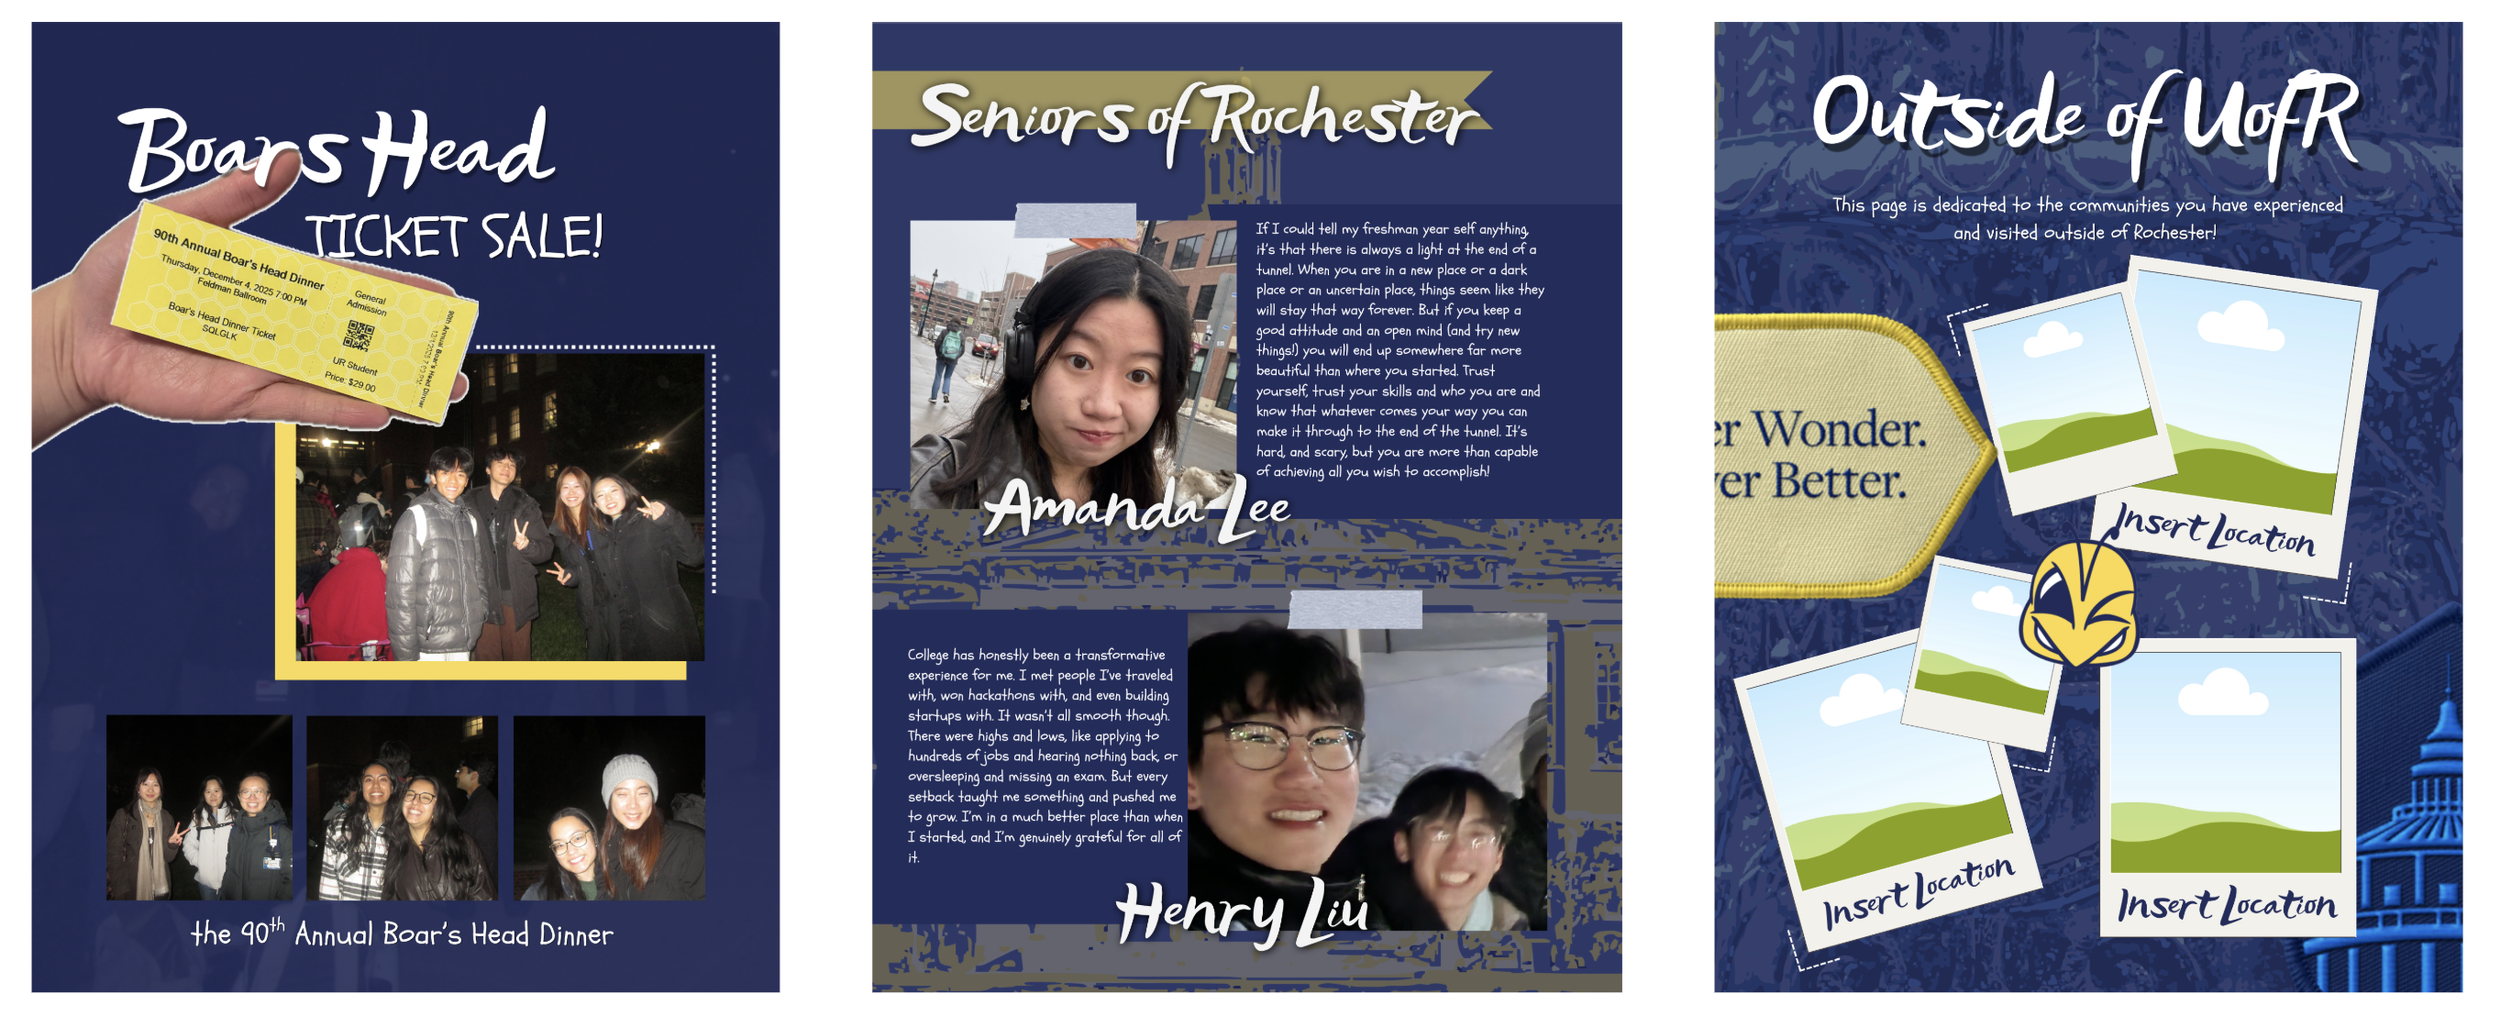
Once students downloaded the template, we organized the rest by taking the completed templates and getting them shipped, completed and sent out to students.